
The one major problem with Ubuntu installation on UEFI systems is that the system can only have one active EFI system partition at a time.
When installing Ubuntu, even if you choose the external hard drive/SSD as the destination for the bootloader, the EFI file of the Ubuntu distribution will be placed in the internal (the first) hard drive/SSD EFI system partition. This causes the Ubuntu won't boot and is not available in boot options.
The solution or workaround to the bootloader problem is removing the internal (the first) hard drive/SSD during the Ubuntu Installation process.
Then you attach the external hard drive/SSD to the laptop/PC via USB.
Now let's install Ubuntu to the external hard drive/SSD.
Create a bootable Ubuntu USB Stick
First, download the latest Ubuntu image on the official website and download rufus on the official website.
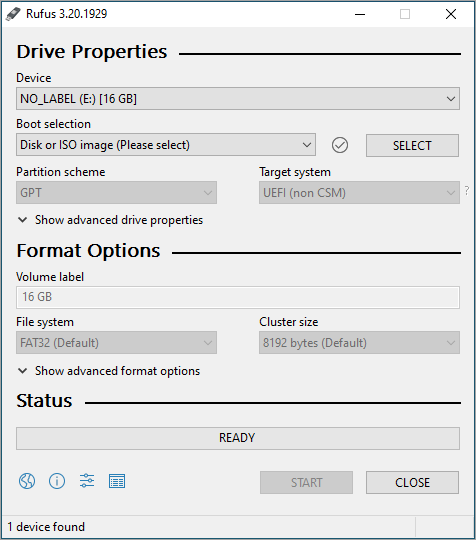
Open the Rufus and locate your USB under the Device option:
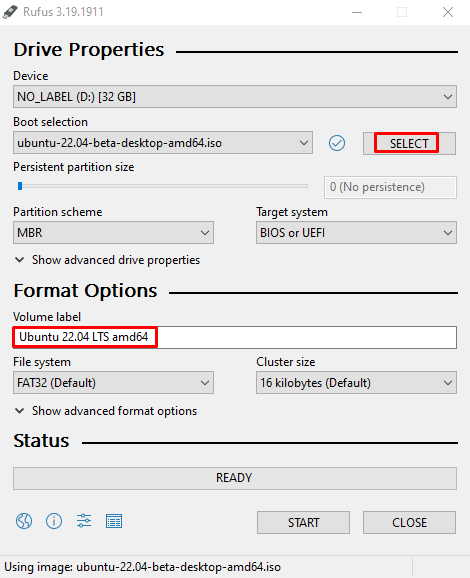
Click on the Select button and load the ISO file of Ubuntu 22.04 from your computer:
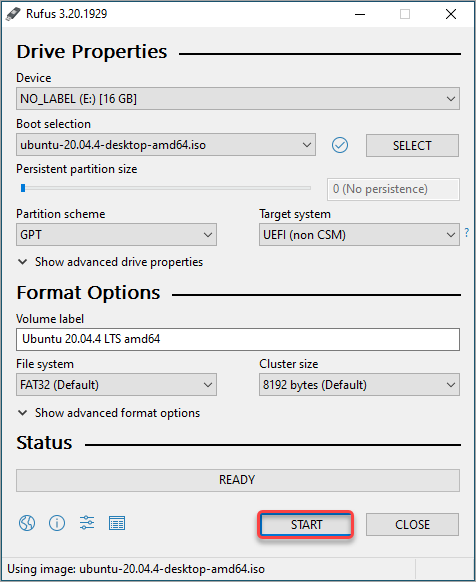
Click the Partition scheme selection box and choose GPT.

Click on the Start button.
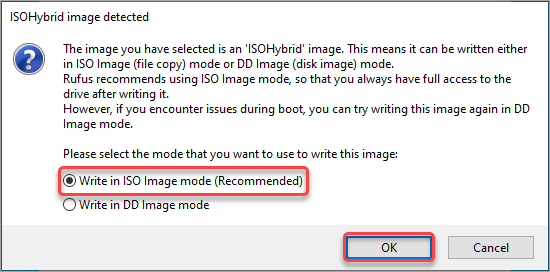
If you see the message, ISOHybrid image detected, select Write in ISO Image mode (recommended), as shown below, and click OK.
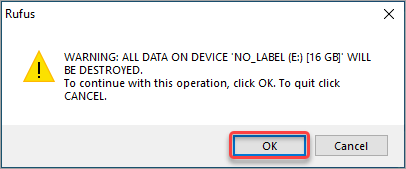
A warning pop-up shows up, asking you to confirm that it is ok to destroy all data on the USB flash drive. Click OK to continue.
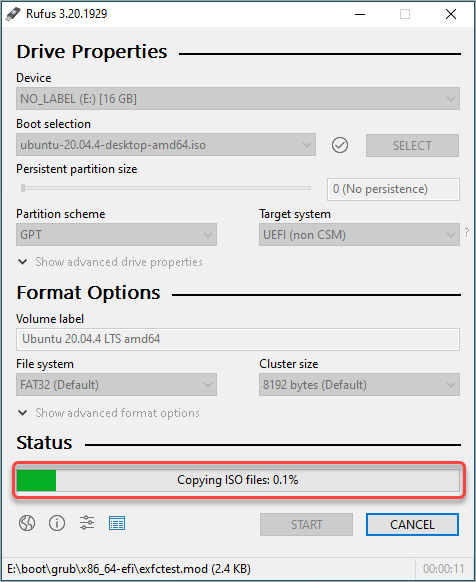
Rufus starts processing the bootable USB drive.
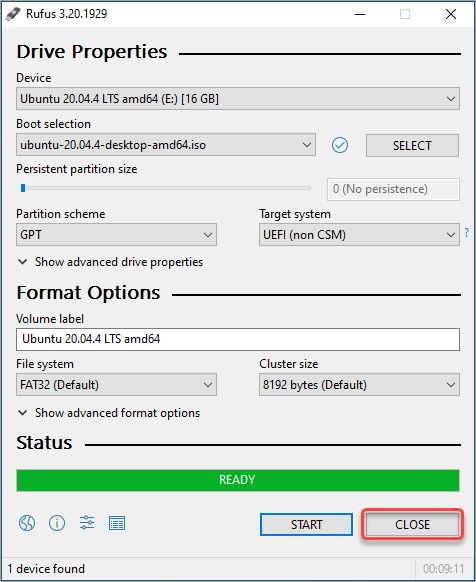
if Rufus has finished writing to the bootable USB, the Status will change to Ready. Click CLOSE to exit Rufus.
Install Ubuntu on the external hard drive/SSD
Restart your computer and press the boot key repeatedly as the computer turns on to access the boot menu. The boot key differs based on the manufacturer:
| Manufacturer | Boot Key |
|---|---|
| Acer | F12 |
| Asus | F8 or Esc |
| Compaq | F9 or Esc |
| Dell | F12 |
| HP | F9 or Esc |
| Lenovo | F8, F10, or F12 |
| Samsung | F2, F12, or Esc |
| Toshiba | F12 |
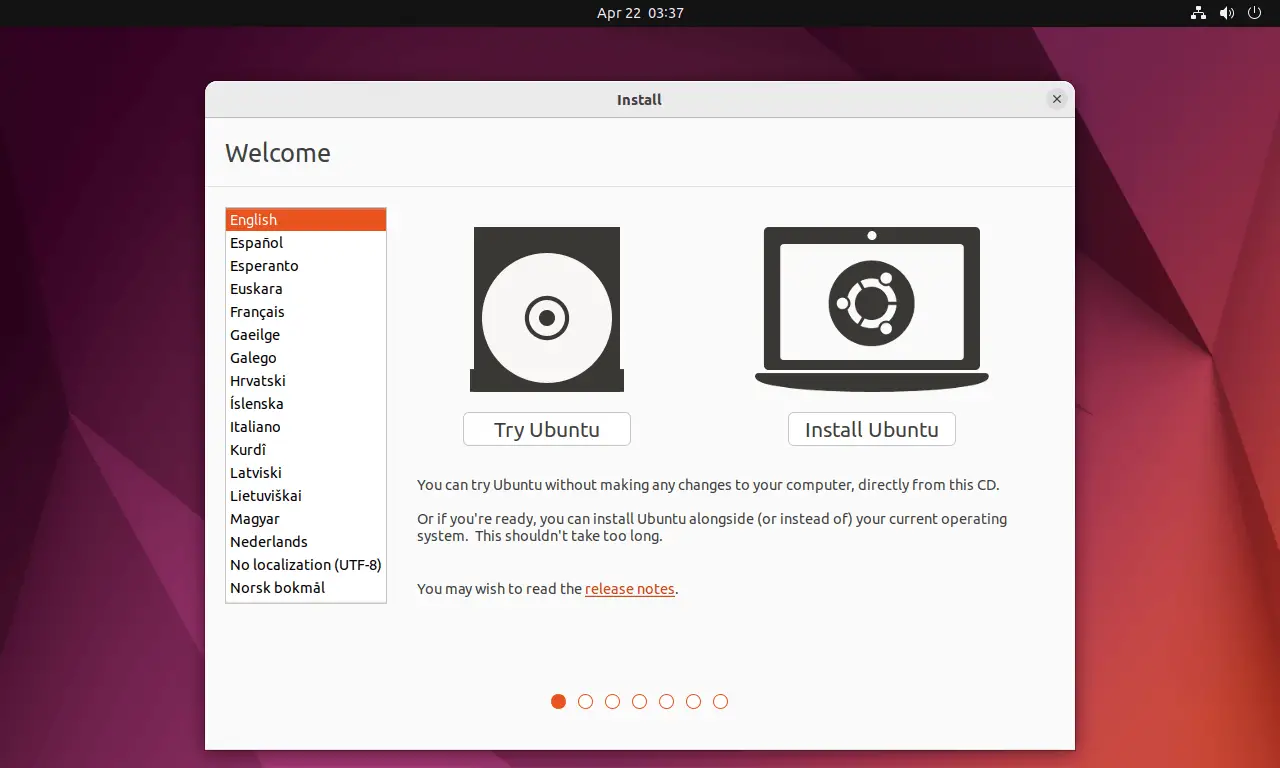
Once the system is fully booted from Live USB or DVD, you will get the OS installer window like below.
To install Ubuntu 22.04, click on Install Ubuntu.
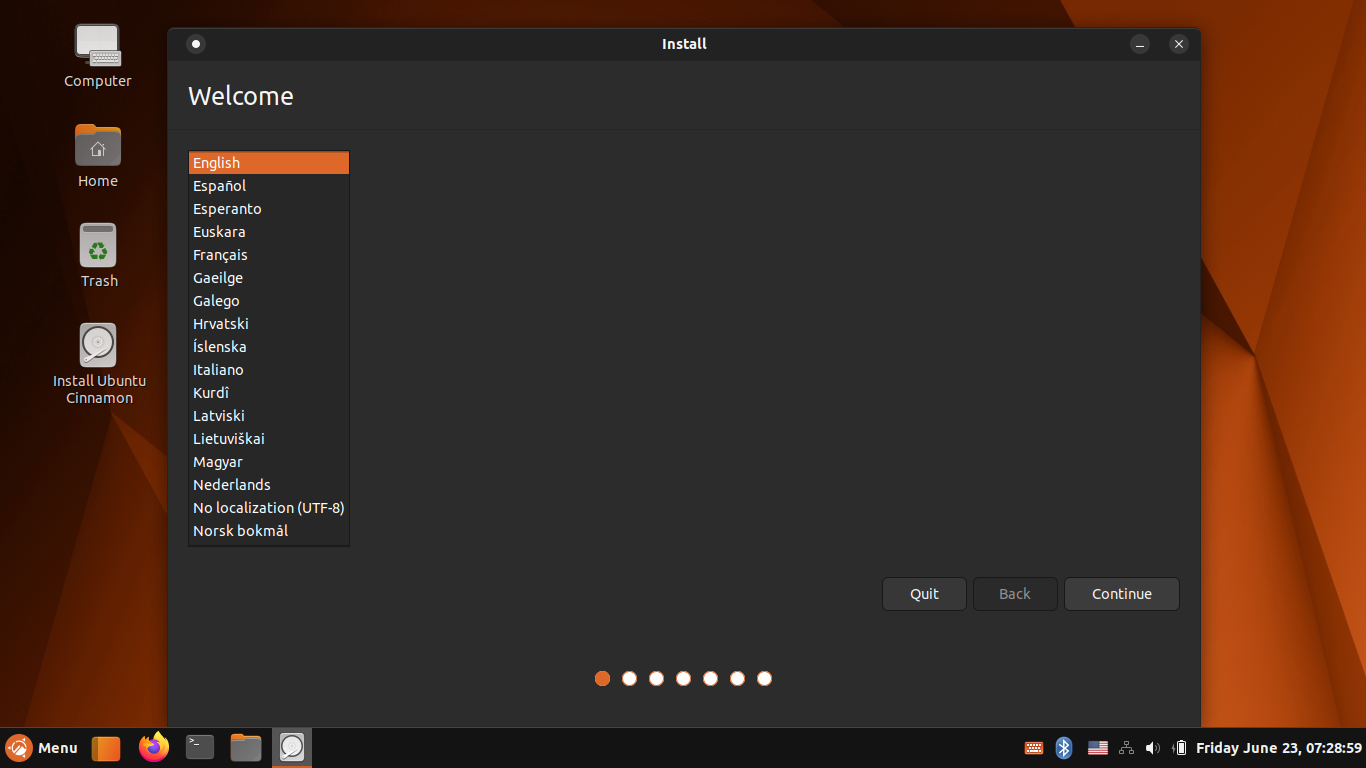
Select your language.
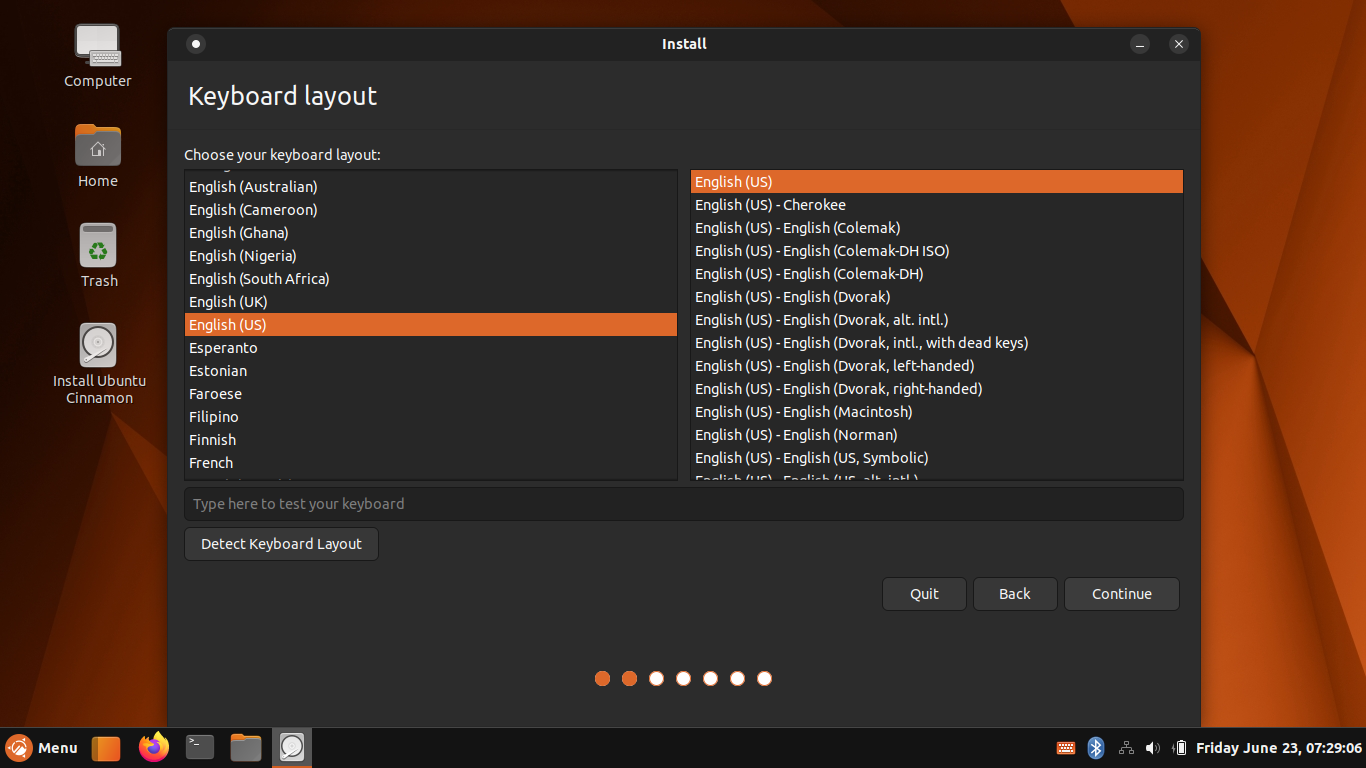
Select your keyboard layout. If you are unsure about your keyboard layout, use the Detect Keyboard Layout option.
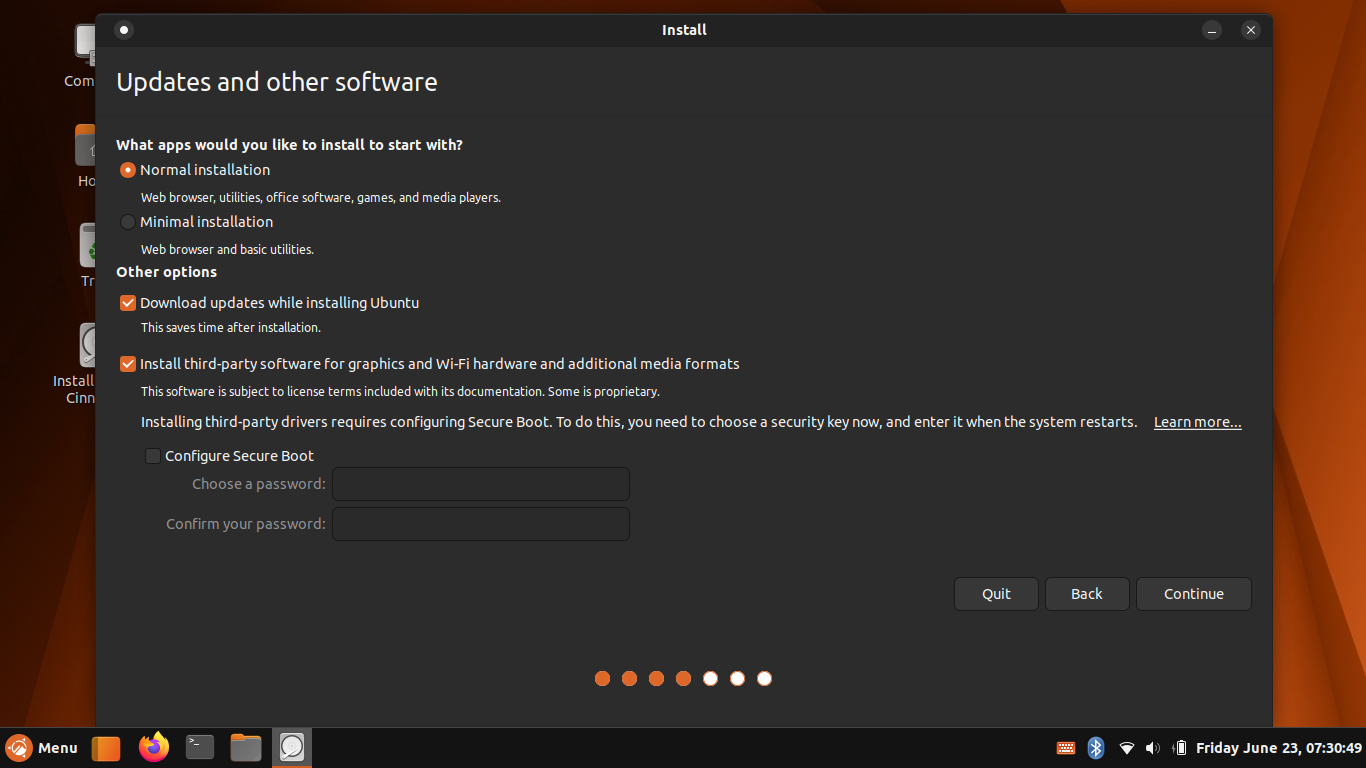
Next you need to choose the type of Ubuntu installation. You can either choose to install updates and other third-party software during the Ubuntu 22.04 installation or leave it.
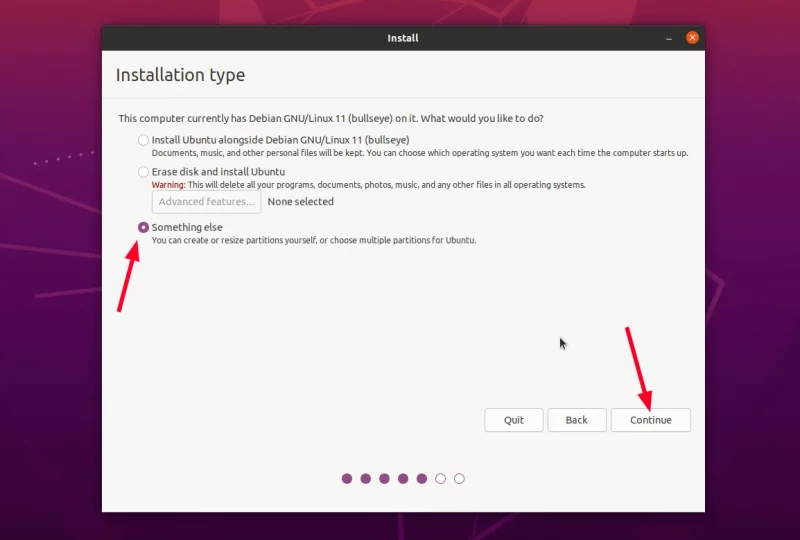
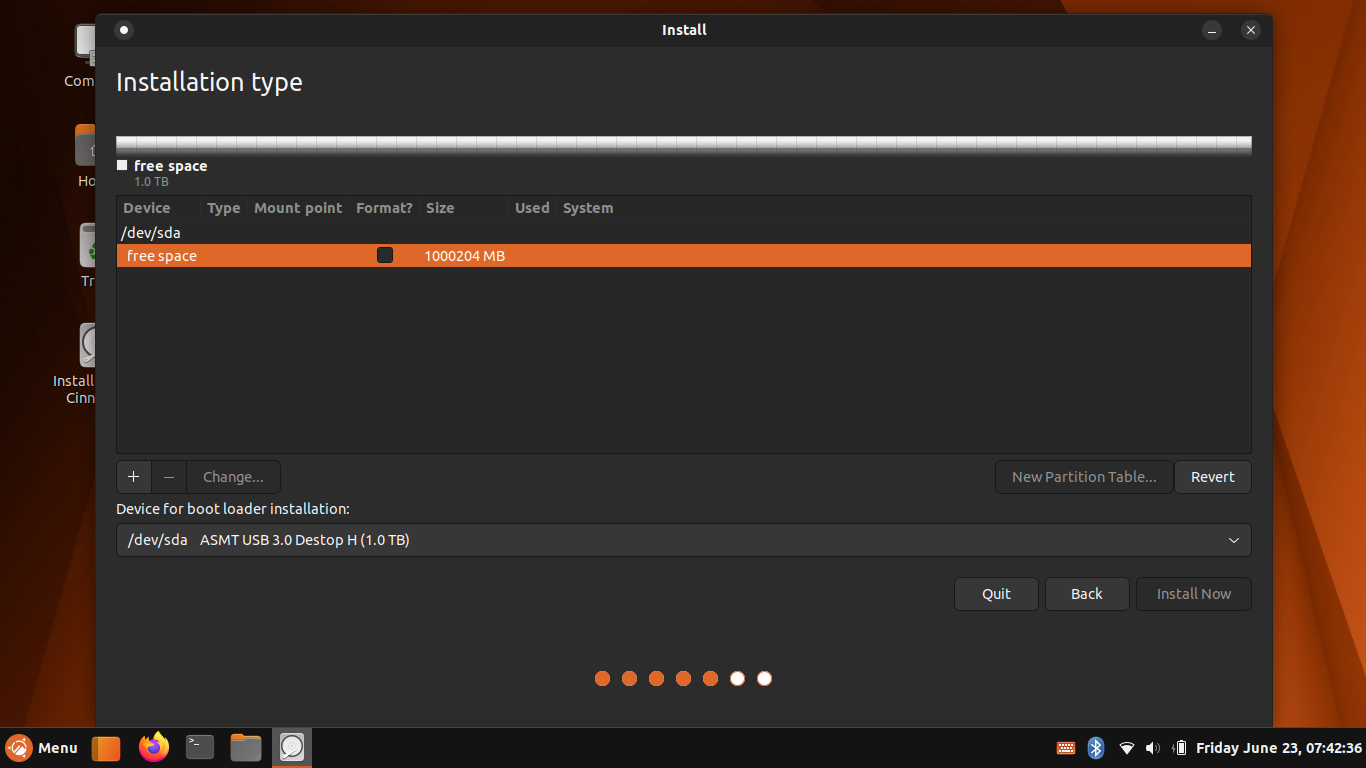
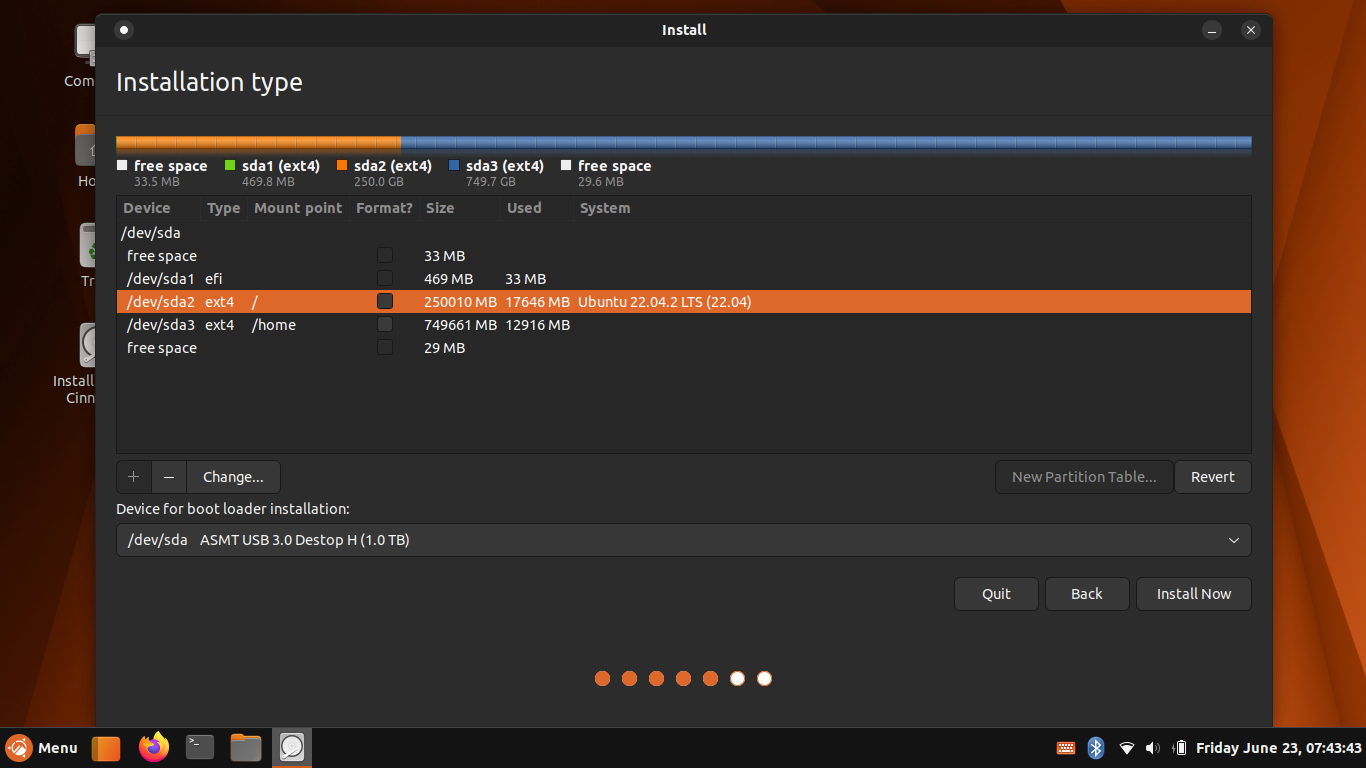
On the Installation type page, select Something else and click Continue.
The menu shows the disk as /dev/sda. Click +.
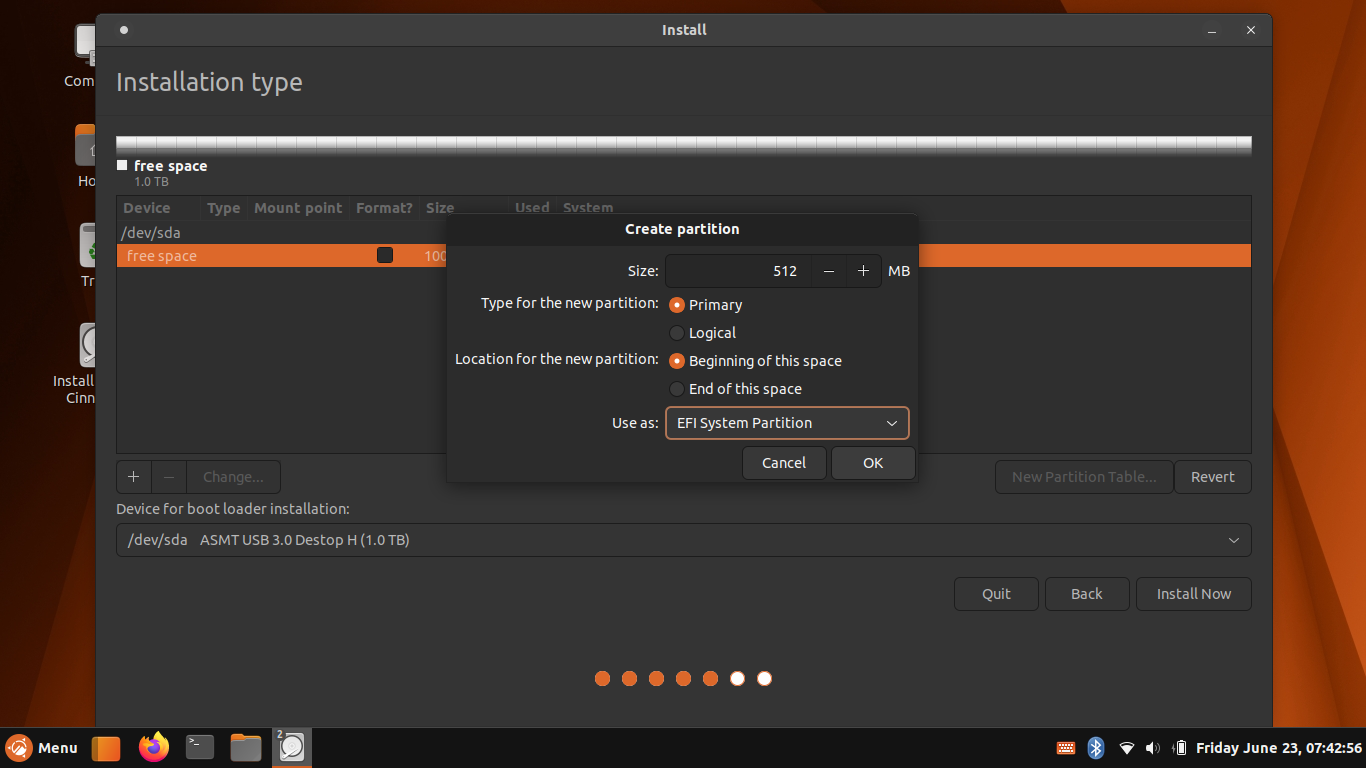
Create a partition for the EFI system.
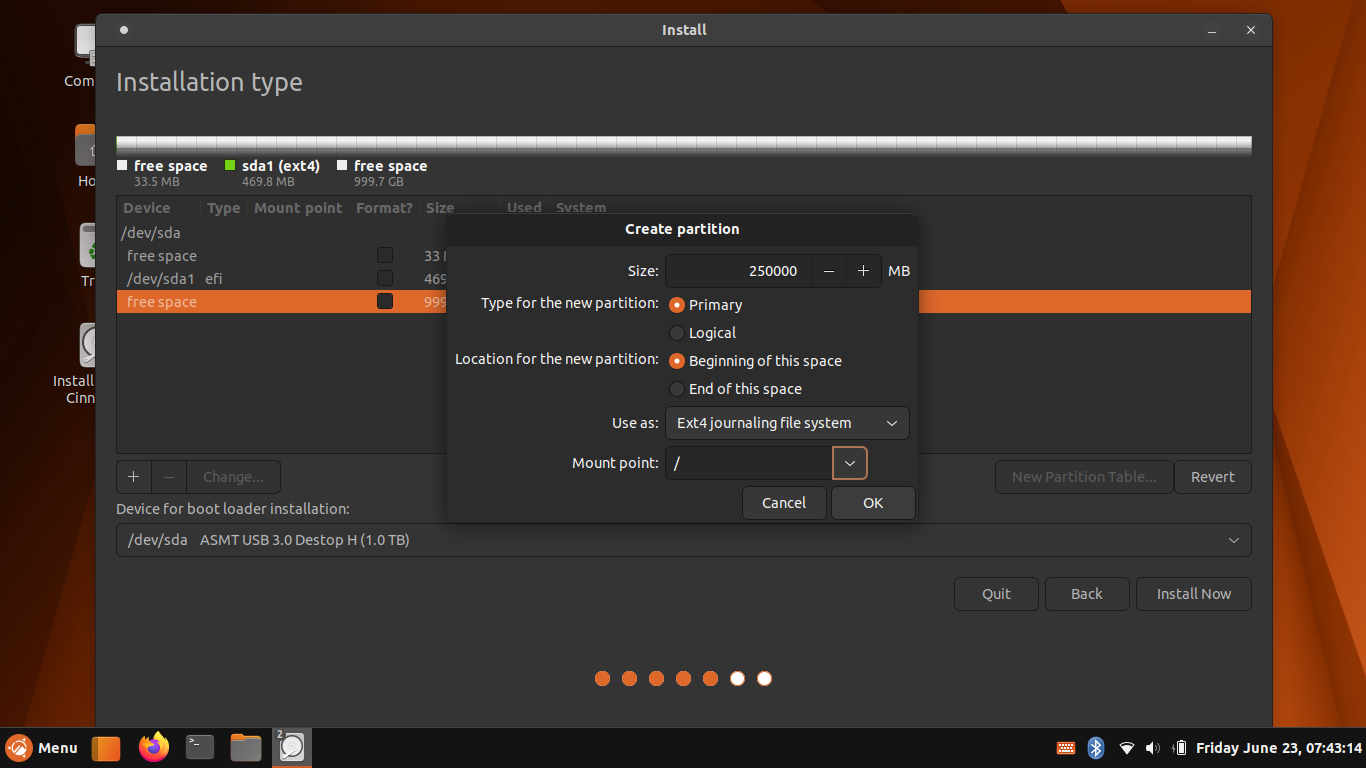
Next, create a partition for the root file system.
Then create a partition for the user file system.
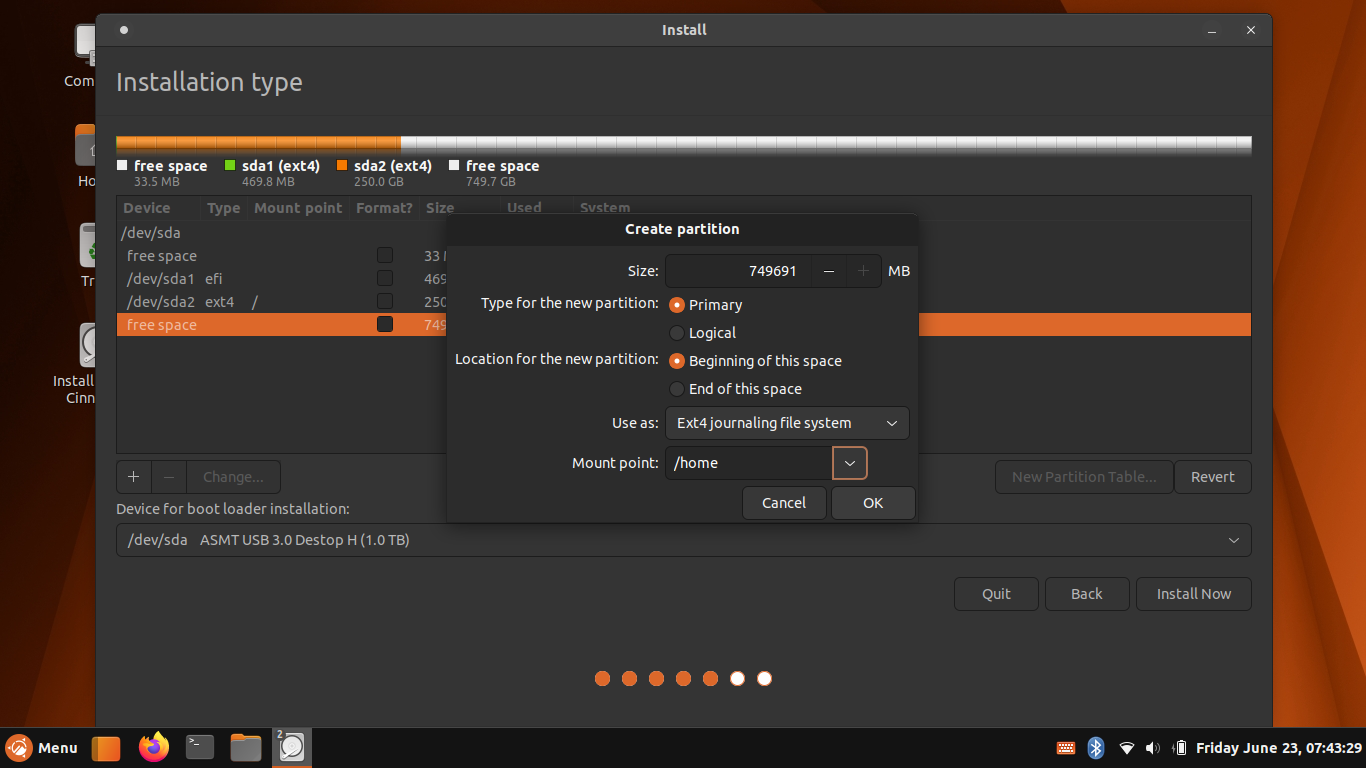
The disk partitioning is complete. Select the root file system /dev/sda2 and click Install Now to begin the installation.
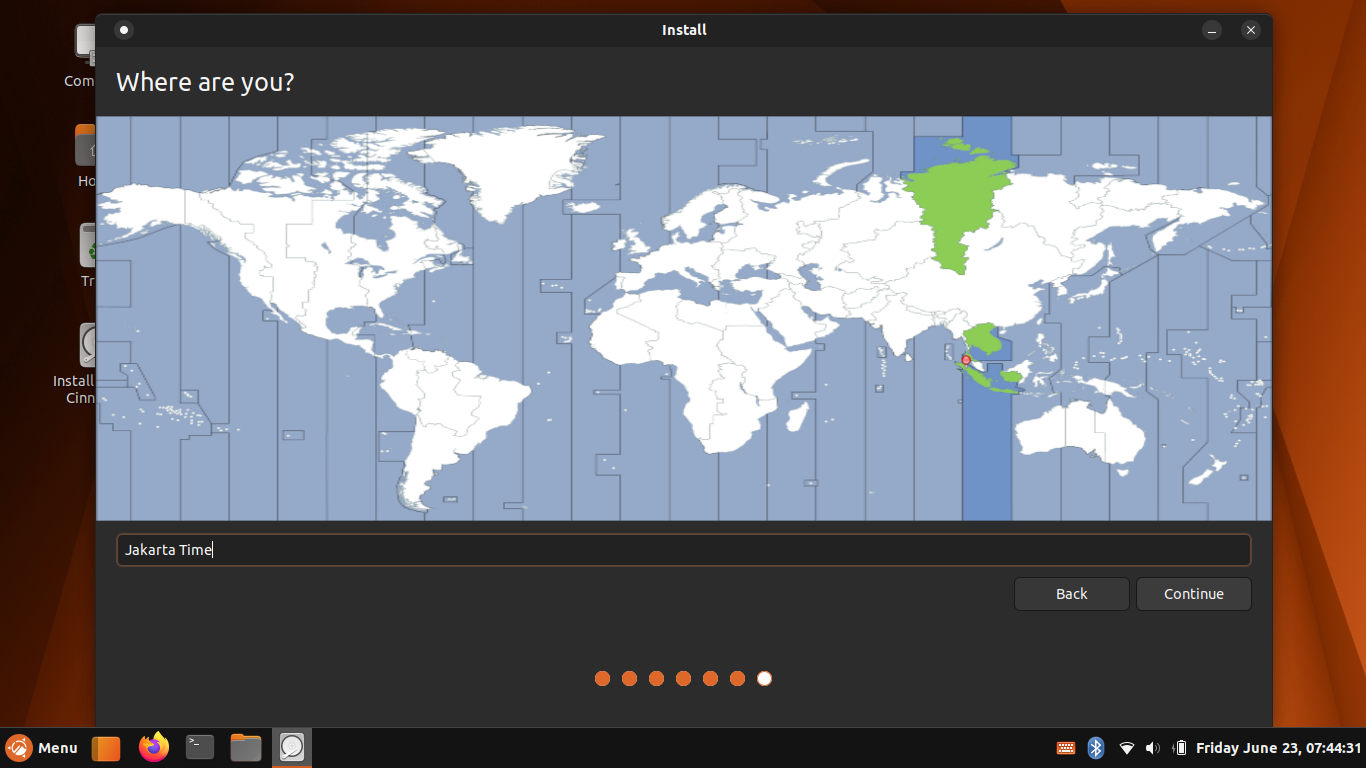
Then you need to set the time zone. Search for a location in the search box and click Continue.
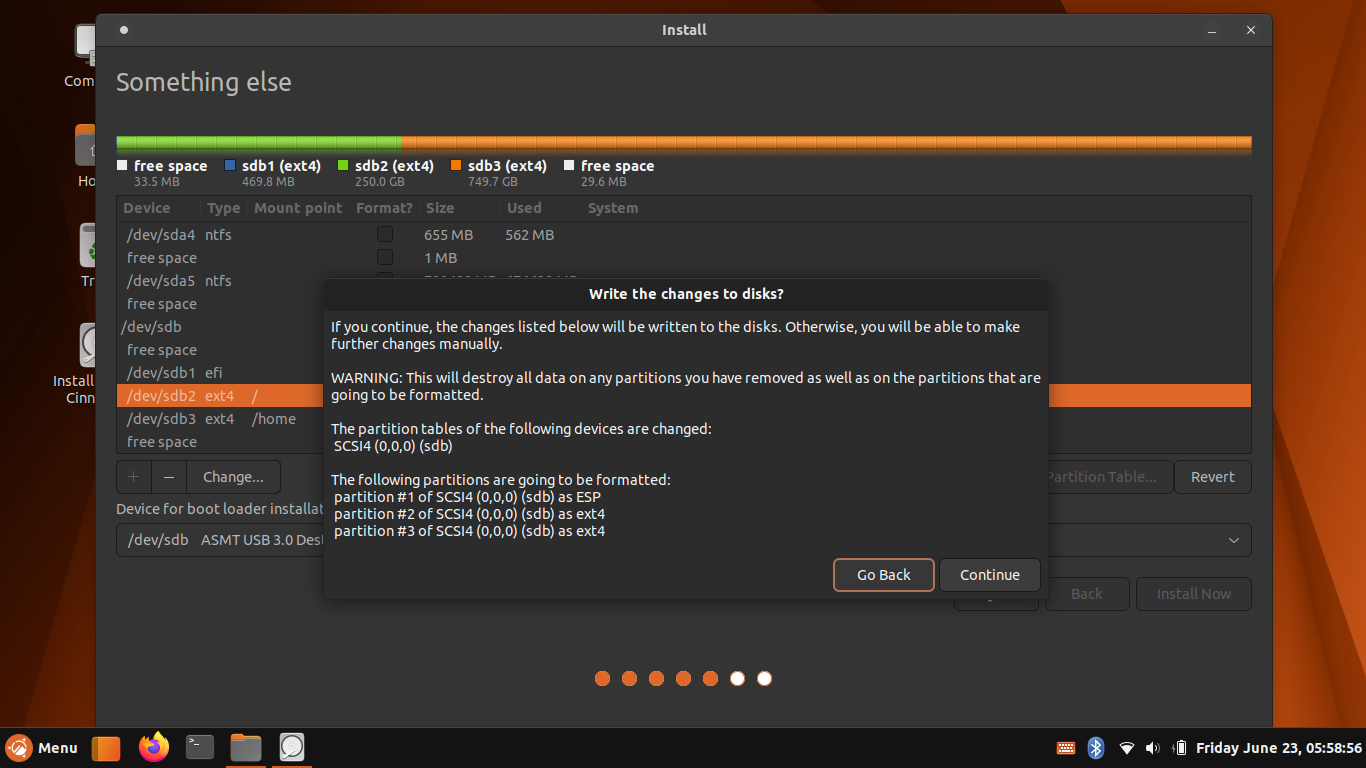
The confirmation prompt appears, click Continue.
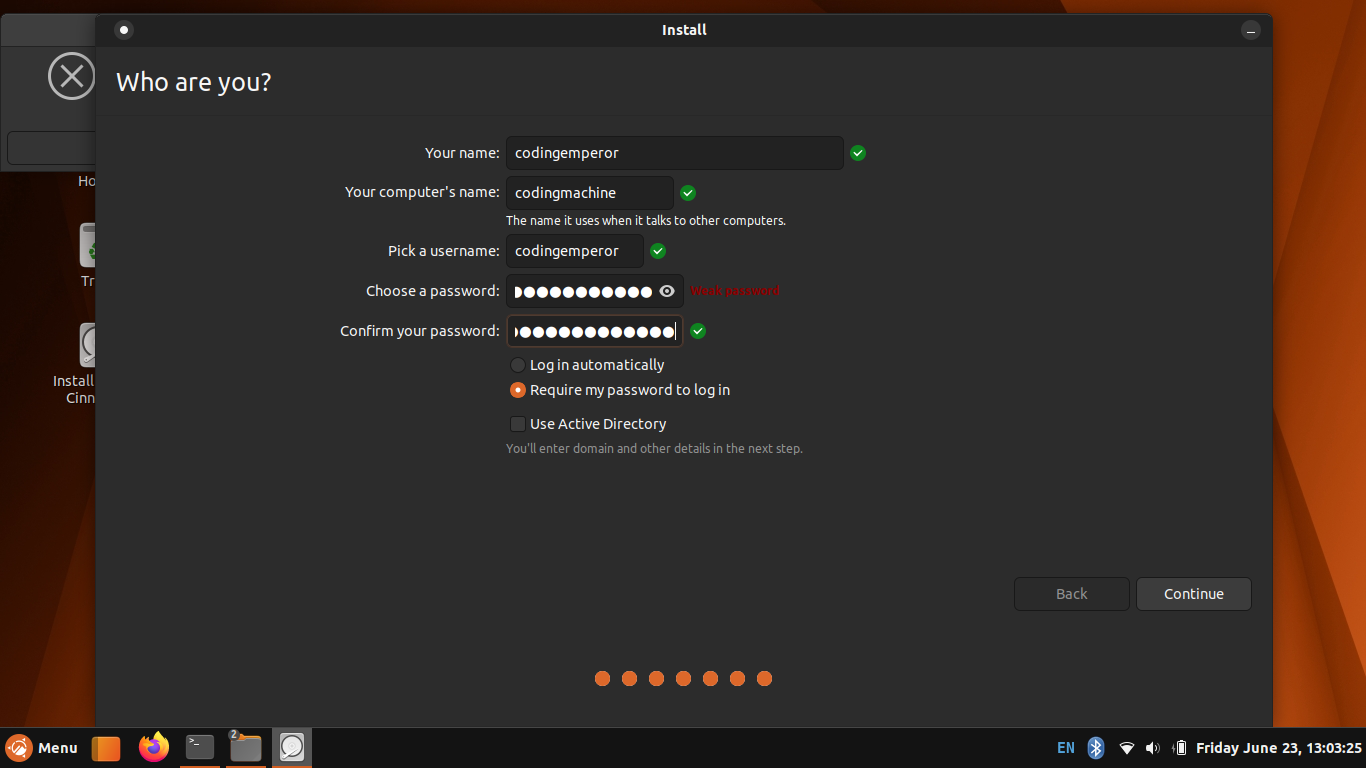
Next, enter your name, computer name, username, and password, and click Continue.
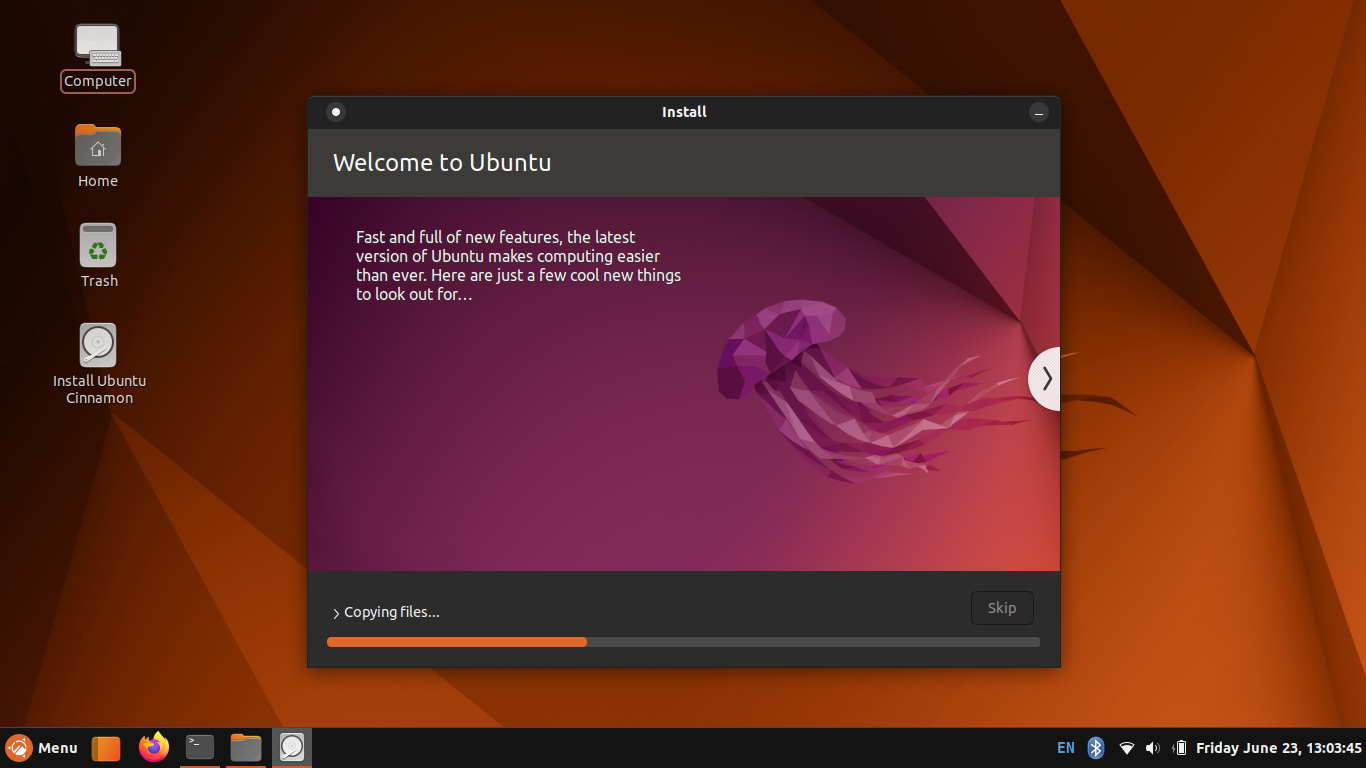
At this point, the process will install Ubuntu on the external hard drive/SSD, and you only need to wait for the setup to finish.
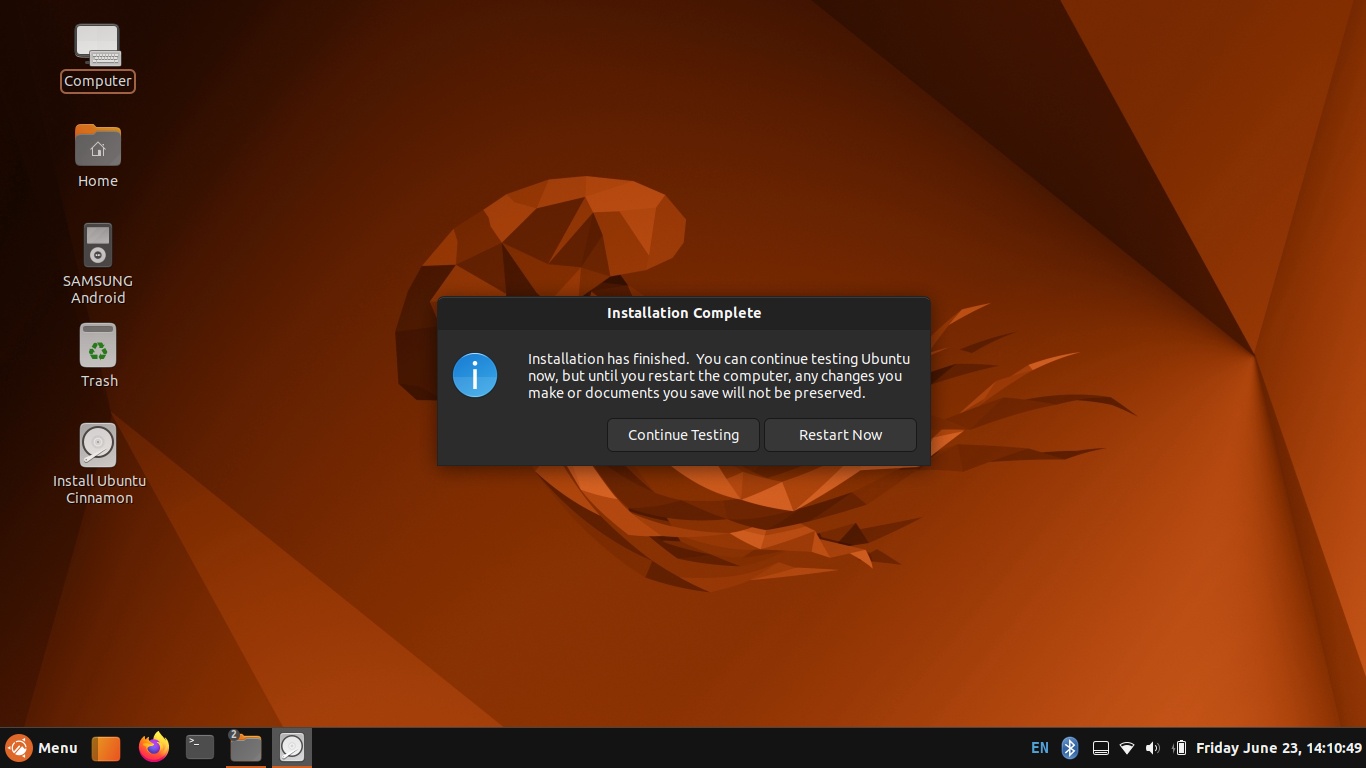
When the installation finishes, a prompt appears and click Restart now.
Press the bios key repeatedly as the computer turns on to access the boot settings. The bios key differs based on the manufacturer:
| Manufacturer | Boot Key |
|---|---|
| Acer | F2 or Del |
| Asus | F2 or Del |
| Compaq | F10 |
| Dell | F2or F12 |
| HP | F10 |
| Lenovo | F1 |
| Samsung | F2 |
| Toshiba | F2 |
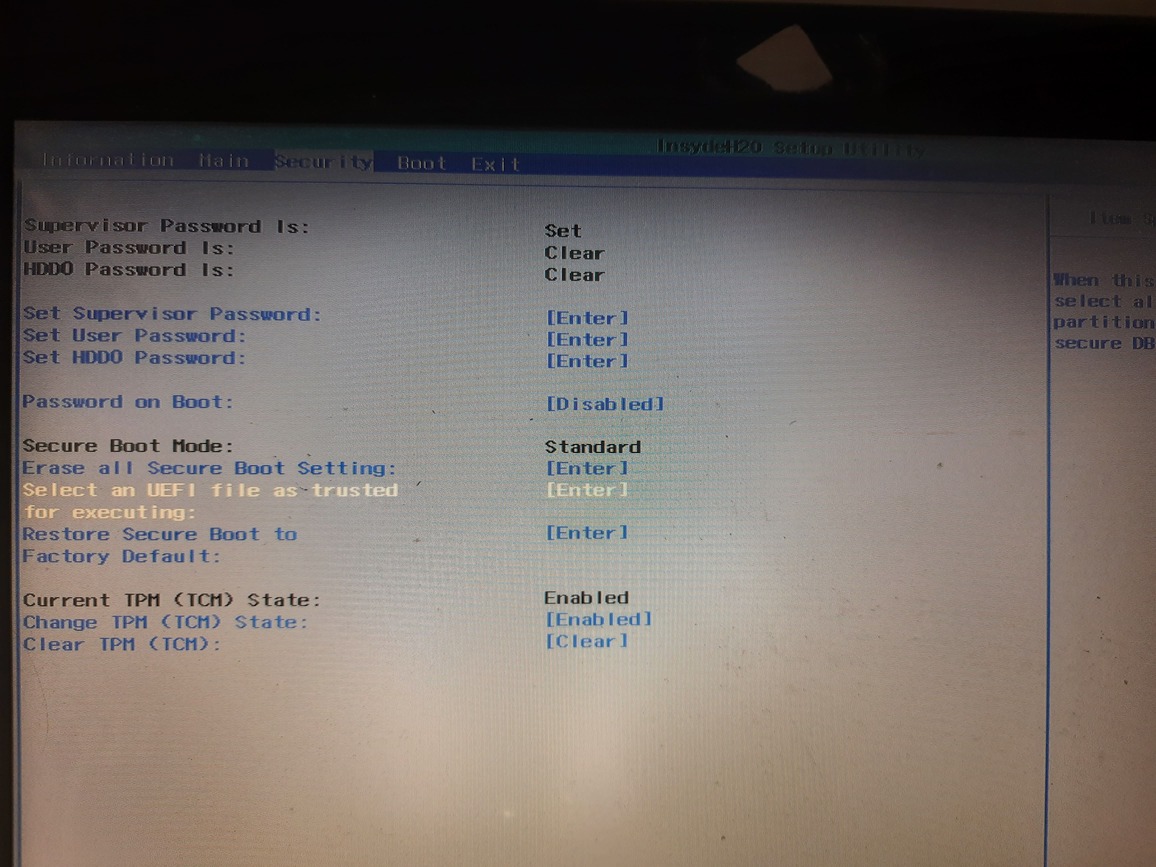
In the boot settings, make sure that Secure Boot is turned on. It should be under the Boot tab.
Go to Security tab and look for Select an UEFI file as trusted for executing and press enter.
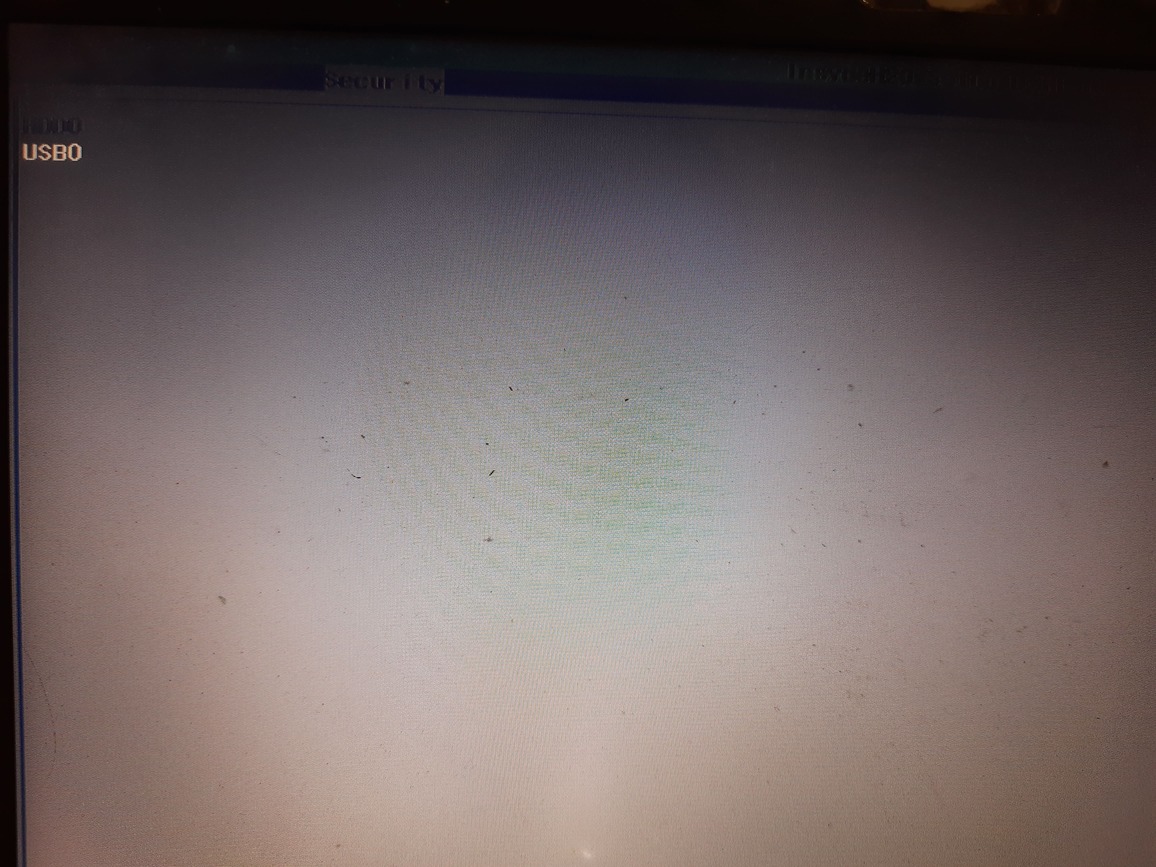
You should see your hard drive/SSD like USB0 since it is connected via USB. Press Enter.
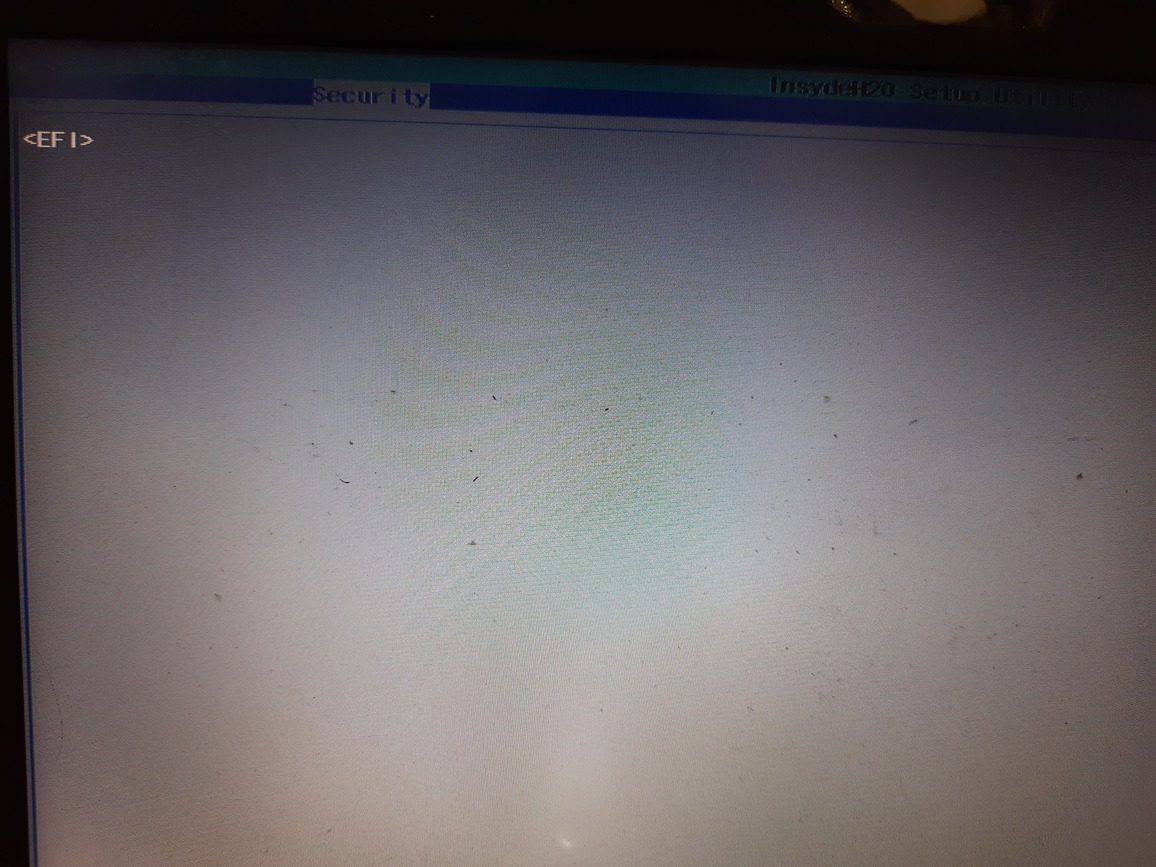
Then you should see <EFI>. Press enter.
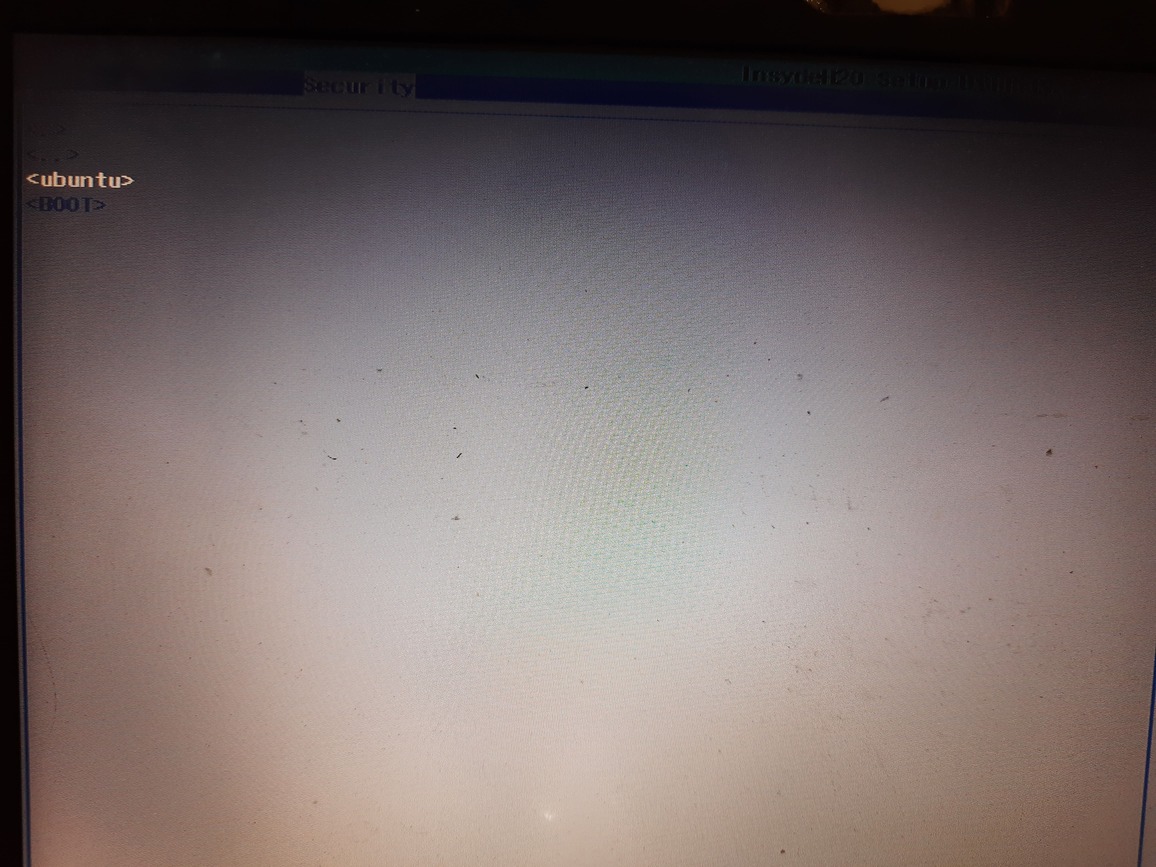
Next You should see <ubuntu>. Press enter.
You'll see shimx64.efi, grubx64.efi and MokManager.efi file here. Select shimx64.efi and press enter.

A prompt shows up, type the boot name (eg. SSDUSB0) and press enter.
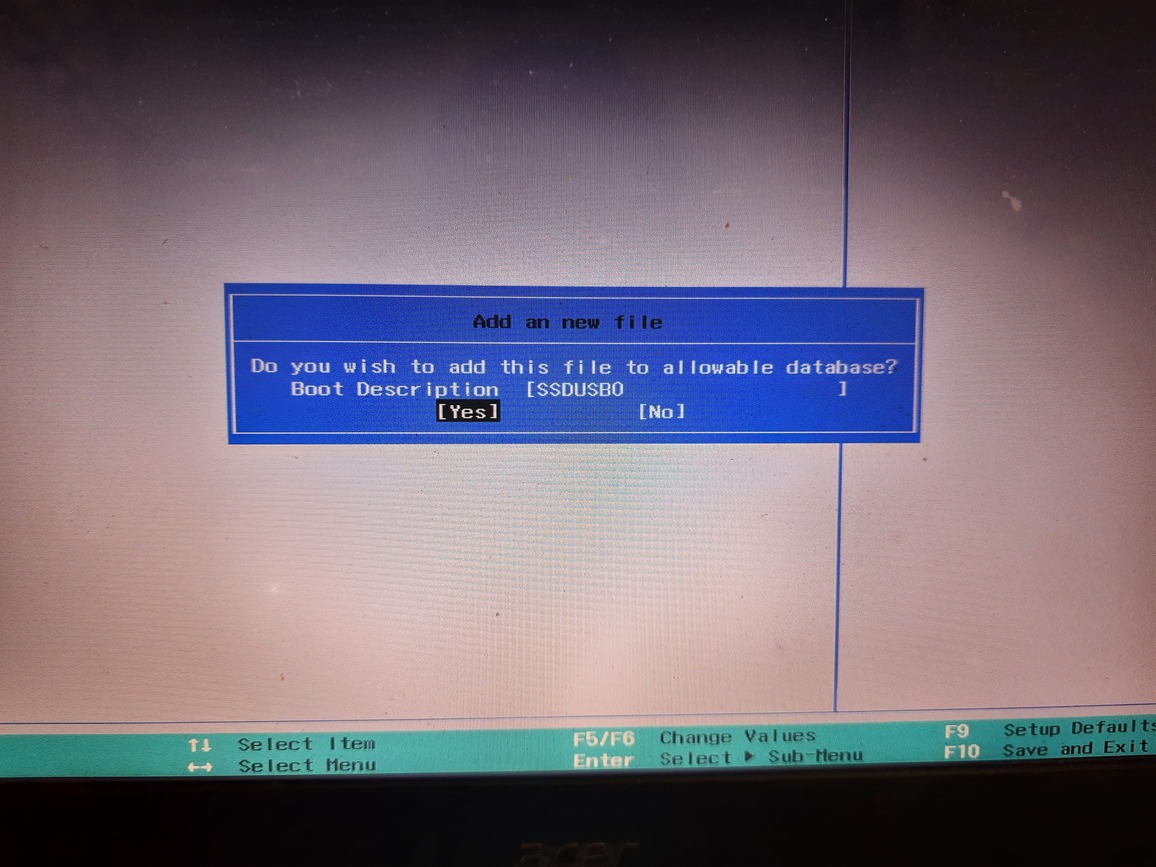
The shimx64.efi has been added as trused EFI file to be executed, press F10 to save and exit.
Press the boot key repeatedly as the computer turns on to access the boot menu. You should see the boot name (SSDUSB0) on the boot menu. Select it and press enter.
You should be able to boot into Ubuntu on the external hard drive/SSD and you must always attach the external hard drive/SSD on the same USB port.
Finally, you can place back the internal hard drive/SSD.