In this tutorial, I will show you how you can build an APK (an Android app) using terminal on Linux without IDE or Android Studio.
Install JDK 7
Remove the existing OpenJDK, execute the following command on terminal:
sudo apt-get remove openjdk*Download oracle jdk 7 on the official website. Extract the oracle jdk 7 tarball to your home directory:
tar -zxvf jdk-7u80-linux-x64.tar.gz --directory $HOMEOpen the .bashrc file.
vi $HOME/.bashrcAdd the following line to set the JDK 7 path:
export PATH="$HOME/jdk1.7.0_80/bin:$PATH"Save the file and exit.
Then Reload the .bashrc file:
source $HOME/.bashrcCheck if the jdk path has been set up correctly:
java -versionInstall Android SDK Tools 23.0.5
The SDK Tools package is deprecated and no longer used in Android 8. Since Android 8, it use the new Android SDK Command-Line tools package.
As stated in https://developer.android.com/tools/releases/platforms, the required Android SDK Tools version is 23.0.5.
Download Android SDK Tools 23.0.5 on http://dl-ssl.google.com/android/repository/tools_r23.0.5-linux.zip
wget http://dl-ssl.google.com/android/repository/tools_r23.0.5-linux.zipCreate Android SDK installation directory on your home directory.
mkdir $HOME/android5sdkExtract the Android SDK Tools to Android SDK installation directory:
unzip tools_r23.0.5-linux.zip -d $HOME/android5sdkChange the Android SDK Tools directory permissions and ownership:
sudo chmod -R 755 $HOME/android5sdk/toolssudo chown -R $USER:$USER $HOME/android5sdk/toolsOpen the .bashrc file.
vi $HOME/.bashrcAdd the following lines to set Android SDK environment variable ANDROID_HOME and the Android SDK Tools path:
export ANDROID_HOME="$HOME/android5sdk"export PATH="$HOME/jdk1.7.0_80/bin:$ANDROID_HOME/tools:$PATH"Save the file and exit.
Then reload the .bashrc file:
source $HOME/.bashrcInstall Android SDK Build-tools 23.0.1
Run android command on the terminal and Android SDK Manager window will show up:
androidClick Deselect All
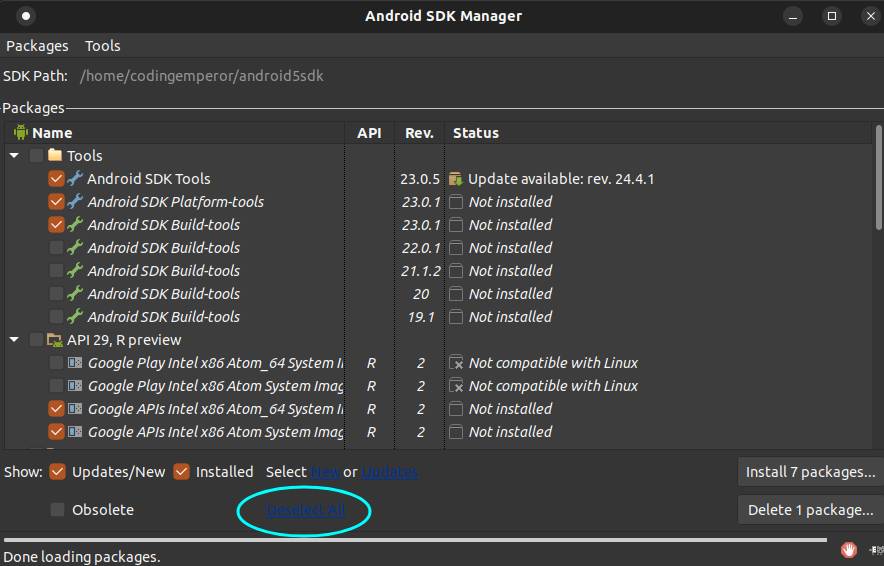
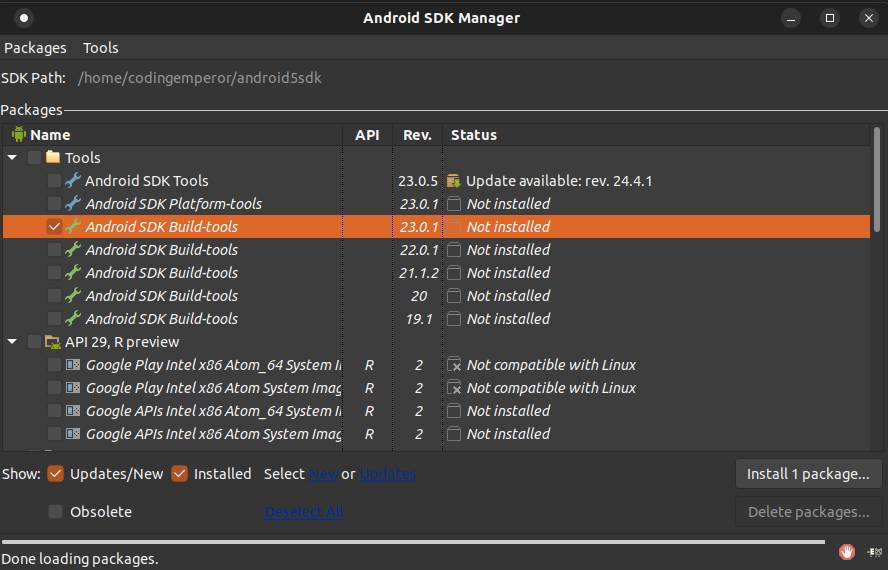
Check Android SDK Build-tools version 23.0.1 option. Then click Install package
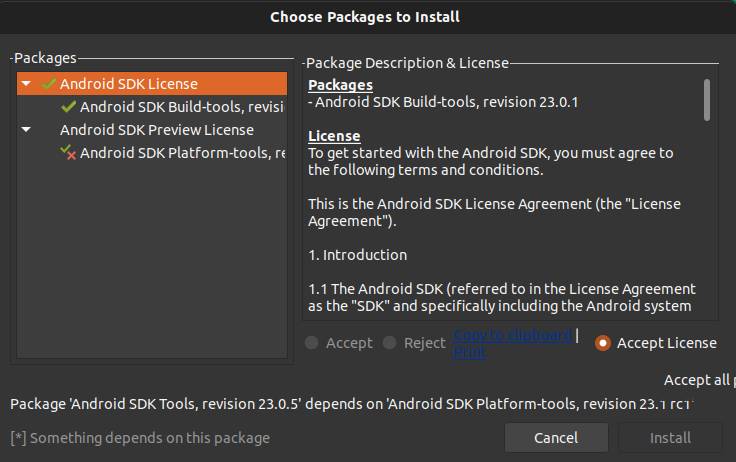
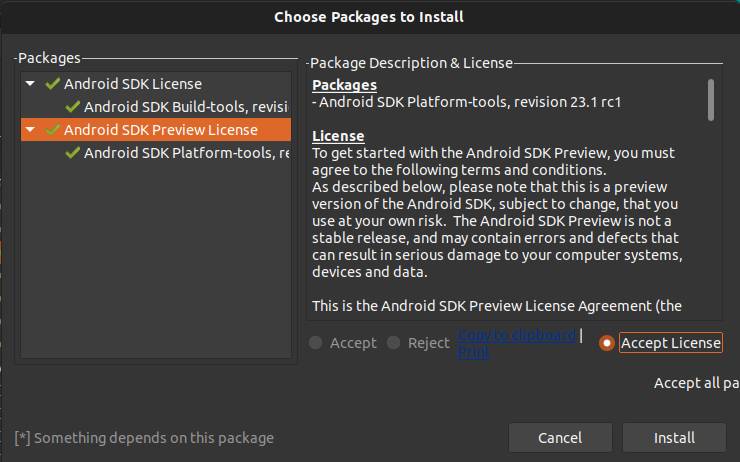
A prompt shows up and click Accept License. Then click Install.
After the installation process finished, open the .bashrc file and set the Android SDK Build-tools path.
export PATH="$HOME/jdk1.7.0_80/bin:$ANDROID_HOME/tools:$ANDROID_HOME/build-tools/23.0.1:$PATH"Save the file and exit.
Then Reload the .bashrc file:
source $HOME/.bashrcInstall SDK Platform for Android 5 API Level 21
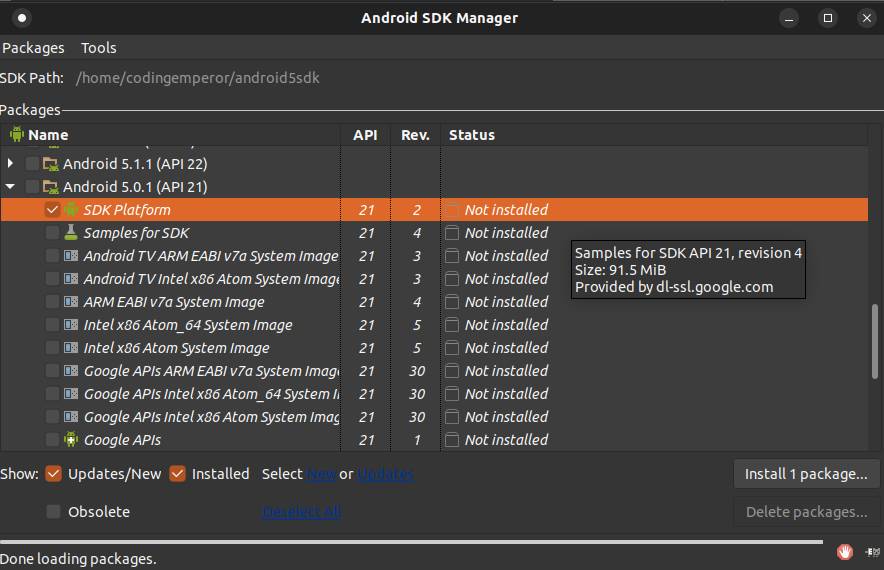
Run android command on the terminal and Android SDK Manager window will show up:
androidClick Deselect All
Find and check the SDK Platform API Level 21 option. Then click Install package
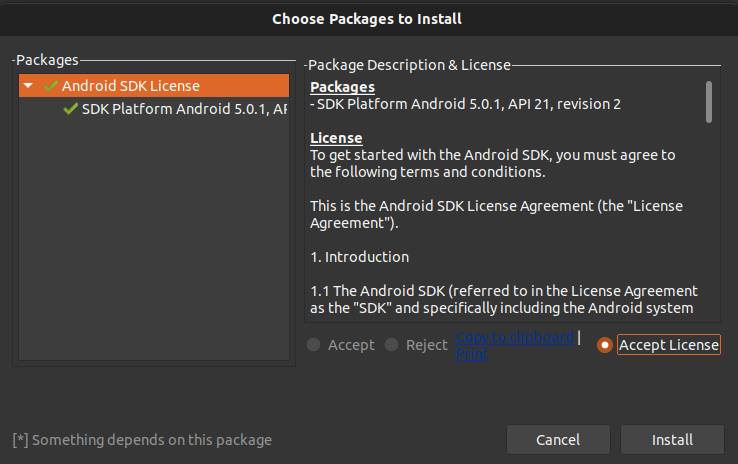
A prompt appears and click Accept License. Then click Install.
Create and Build an Simple Android Project
First, we need to make a project directory on the home directory:
mkdir $HOME/HelloAndroidcd $HOME/HelloAndroidOpen the .bashrc file and set the Android project path.
export PROJ="$HOME/HelloAndroid"Create the src directory that contains all .java (JAVA) files.
mkdir srcEvery Android app has a unique application ID that looks like a Java package name, such as com.example.myapplication. This ID uniquely identifies your app in Google Play Store. If you want to upload a new version of your app, the application ID (and the certificate you sign it with) must be the same as the original APK. if you change the application ID, Google Play Store treats the APK as a completely different app.
Create the unique application ID directory structure inside the src directory.
mkdir -p src/com/example/helloandroidCreate the layout directory holds all the XML layout files for your projects.
mkdir -p res/layoutCreate the drawable directory holds all the images for your project.
mkdir -p res/drawableCreate the values directory is used to store the values for the resources that are used in android projects to include features of color, styles, dimensions etc.
mkdir -p res/valuesEvery app project must have an AndroidManifest.xml file, with precisely that name, at the project directory. The manifest file describes essential information about your app to the Android build tools, the Android operating system, and Google Play.
Create a AndroidManifest.xml file contains information of your package, including components of the application such as activities, services, broadcast receivers, content providers etc. Add the following lines:
<?xml version='1.0'?>
<manifest xmlns:a='http://schemas.android.com/apk/res/android' package='com.example.helloandroid' a:versionCode='0' a:versionName='0'>
    <application a:label='A Hello Android'>
        <activity a:name='com.example.helloandroid.MainActivity'>
             <intent-filter>
                <category a:name='android.intent.category.LAUNCHER'/>
                <action a:name='android.intent.action.MAIN'/>
             </intent-filter>
        </activity>
    </application>
</manifest>
Create a src/com/example/helloandroid/MainActivity.java file and add the following codes:
package com.example.helloandroid;

import android.app.Activity;
import android.os.Bundle;

public class MainActivity extends Activity {
   @Override
   protected void onCreate(Bundle savedInstanceState) {
      super.onCreate(savedInstanceState);
      setContentView(R.layout.activity_main);
   }
}
Create a res/values/strings.xml file which contains all the strings which will be used frequently in project and add the following codes:
<resources>
    <string name="app_name">A Hello Android</string>
    <string name="hello_msg">Hello Android!</string>
</resources>
Create a res/values/activity_main.xml file which defines the architecture for the UI in an Activity or a component of a UI and add the following lines:
<RelativeLayout xmlns:android="http://schemas.android.com/apk/res/android" xmlns:tools="http://schemas.android.com/tools"
   android:layout_width="match_parent"
   android:layout_height="match_parent" >

   <TextView
      android:layout_width="wrap_content"
      android:layout_height="wrap_content"
      android:layout_centerHorizontal="true"
      android:layout_centerVertical="true"
      android:text="@string/hello_msg"
      tools:context=".MainActivity" />
</RelativeLayout>
Now, we need generate the R.java file:
aapt package -f -m -J $PROJ/src -M $PROJ/AndroidManifest.xml -S $PROJ/res -I $ANDROID_HOME/platforms/android-21/android.jar-foption instructsaaptto force overwrite of existing files-moption instructsaaptto create directories under the location specified by-Joption-Joption specifies whereR.javafile will be created-Soption specifies where the resource directory is-Ioption instructsaaptto include theandroid.jar
Next, we compile the .java files:
javac -d obj -sourcepath src -classpath $ANDROID_HOME/platforms/android-21/android.jar src/com/example/helloandroid/*.java-doption specifies where the class files (compiled.javafiles) will be saved-sourcepathoption specifies where to find source files (.javafiles)-classpathoption specifies where the android library (.jarfiles) or the external libraries are. Use:to separate the.jarfiles
The compiled .class files are in obj directory, but Android runtime can't read them. We have to translate them in a file called classes.dex which will be read by the dalvik Android runtime:
dx --dex --output=$PROJ/bin/classes.dex $PROJ/objBut if your project uses external libraries, then:
dx --dex --output=$PROJ/bin/classes.dex $PROJ/*.jar $PROJ/objNow we create the APK file:
aapt package -f -m -F $PROJ/bin/hello.unaligned.apk -M $PROJ/AndroidManifest.xml -S $PROJ/res -I $ANDROID_HOME/platforms/android-21/android.jar-foption instructsaaptto force overwrite of existing files-moption instructsaaptto create directories under the location specified by-Joption-Foption specifies where the APK file will be created-Moption specifies full path toAndroidManifest.xmlto include in APK file-Soption specifies directory in which to find resources-Ioption instructsaaptto include theandroid.jar
Add the classes.dex file to the APK file:
aapt add $PROJ/bin/hello.unaligned.apk $PROJ/bin/classes.dexThe generated APK can’t be installed yet by Android because it's unaligned and unsigned.
To sign the APK, we firstly create a new keystore with the command keytool given by Java JDK:
keytool -genkeypair -alias samuel -validity 365 -keystore mykey.keystore -keyalg RSA -keysize 2048-genkeypairoption instructskeytoolto generate a public key/private key pair and the generated key pair is inserted into a Java KeyStore file as a self signed key pair-aliasoption specifies the name for the certificate-validityoption specifies the number of days the certificate attached to the key pair should be valid-keystoreoption specifies the name of the KeyStore file to store the generated key pair in-keyalgoption specifies the name of the algorithm used to generate the key-keysizeoption specifies the size in bits of the key to generate
When prompted, supply the certificate and password information.
Enter keystore password:  (choose a password)
What is your first and last name?
  [Unknown]:  samuel yang
What is the name of your organizational unit?
  [Unknown]:  development
What is the name of your organization?
  [Unknown]:  hemimorphite
What is the name of your City or Locality?
  [Unknown]:  jakarta
What is the name of your State or Province?
  [Unknown]:  jakarta
What is the two-letter country code for this unit?
  [Unknown]:  id
Is CN=samuel yang, OU=development, O=hemimorphite, L=jakarta, ST=jakarta, C=id correct?
  [no]:  yes

Enter key password for
        (RETURN if same as keystore password):  (choose a password or enter)
Next, we sign the APK file with the command jarsigner given by Java JDK:
jarsigner -verbose -sigalg SHA1withRSA -digestalg SHA1 -keystore mykey.keystore $PROJ/bin/hello.unaligned.apk-verboseoption indicates that thejarsigneruse the verbose mode when signing-sigalgoption specifies the name of the signature algorithm to use to sign the APK file.-digestalgoption specifies the name of the message digest algorithm to use when digesting the entries of a APK file.-keystoreoption specifies the name of the KeyStore file to be used
Next, we align the APK file to optimize your APK file.
zipalign -f 4 $PROJ/bin/hello.unaligned.apk $PROJ/bin/hello.apk-foption instructs thezipalignto overwrite existing output file4option instructs thezipalignto align to 4 bytes on both 32-bit and 64-bit systems
Run the APK File on Android Emulator
Download the genymotion installer on the official website.
Next, open terminal and run the installer:
./genymotion-3.4.0-linux_x64.binAfter finished installing, open the emulator and click add virtual machine.
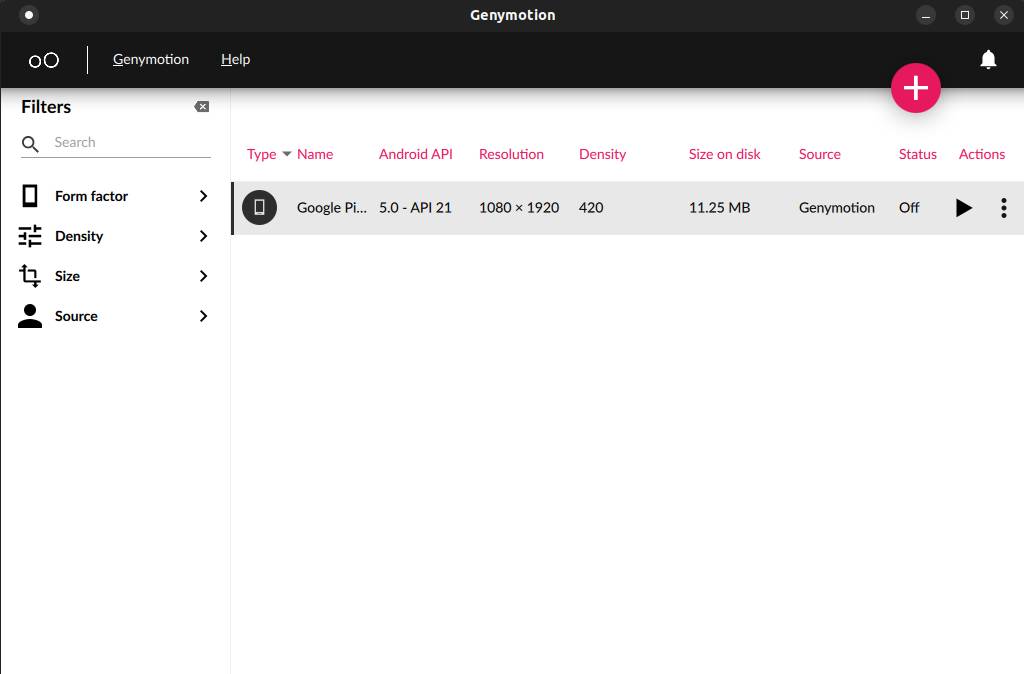
A window will show up, search the virtual device name (eg. Samsung Galaxy S5) and double click the virtual device.
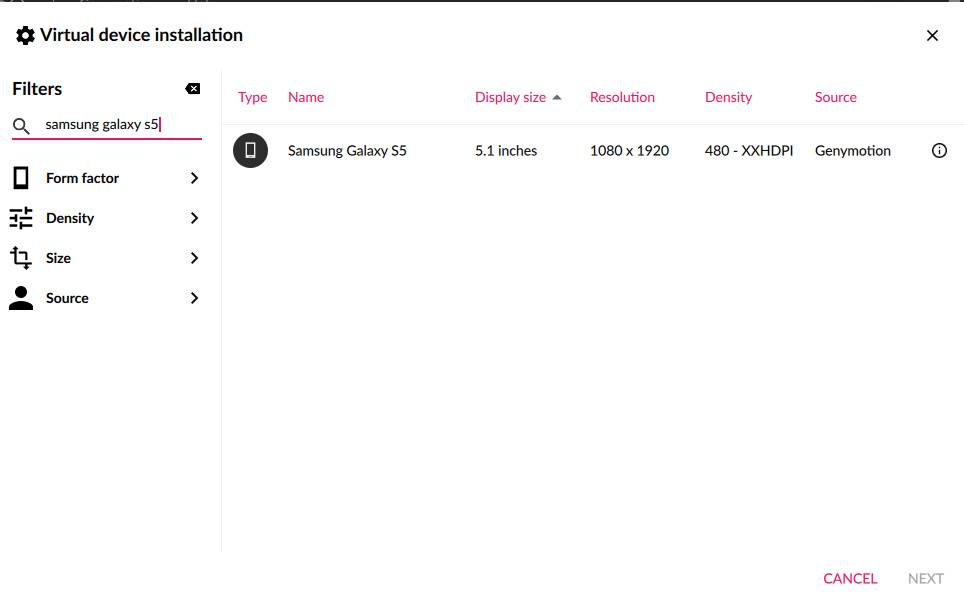
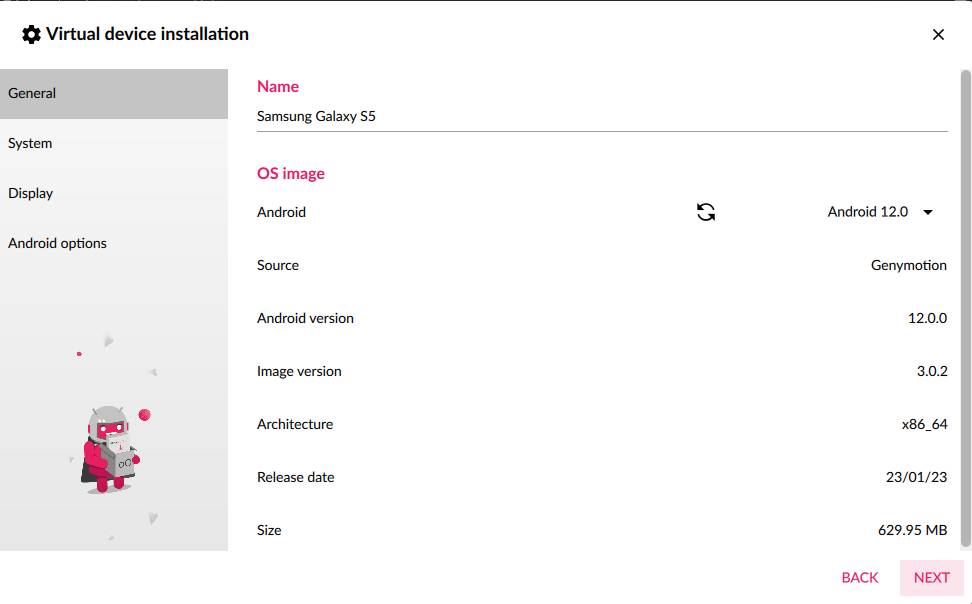
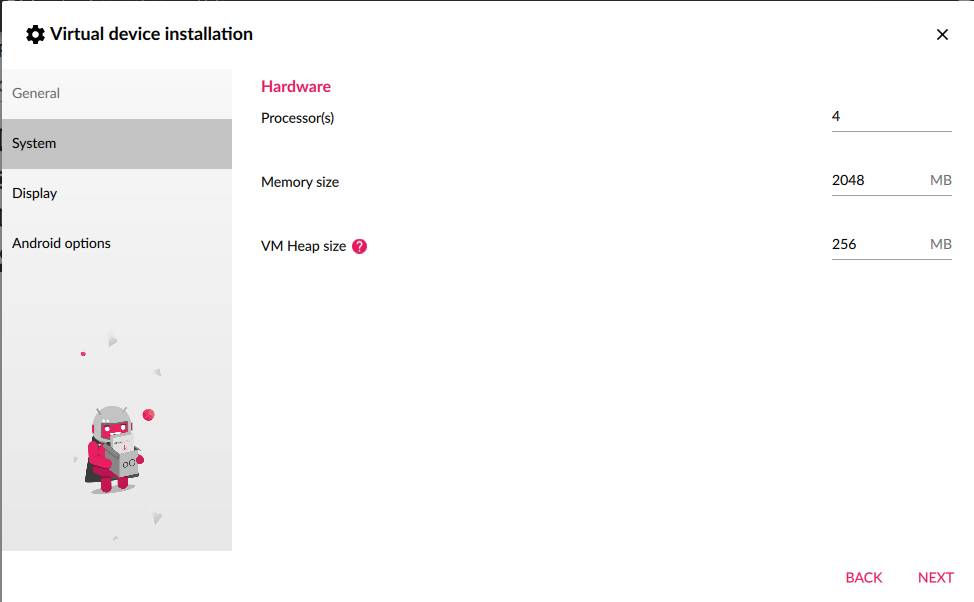
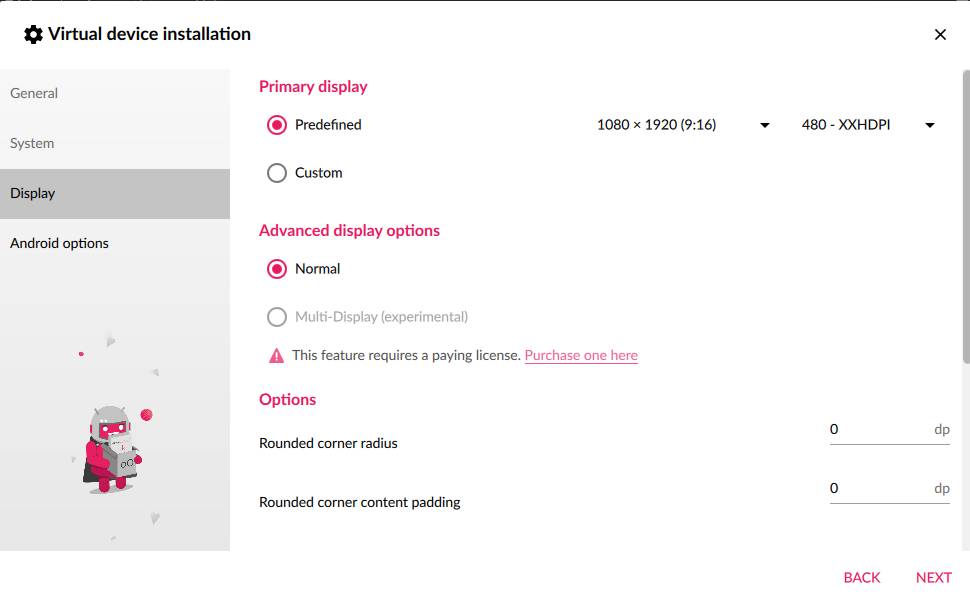
Just click Next and then click Install.
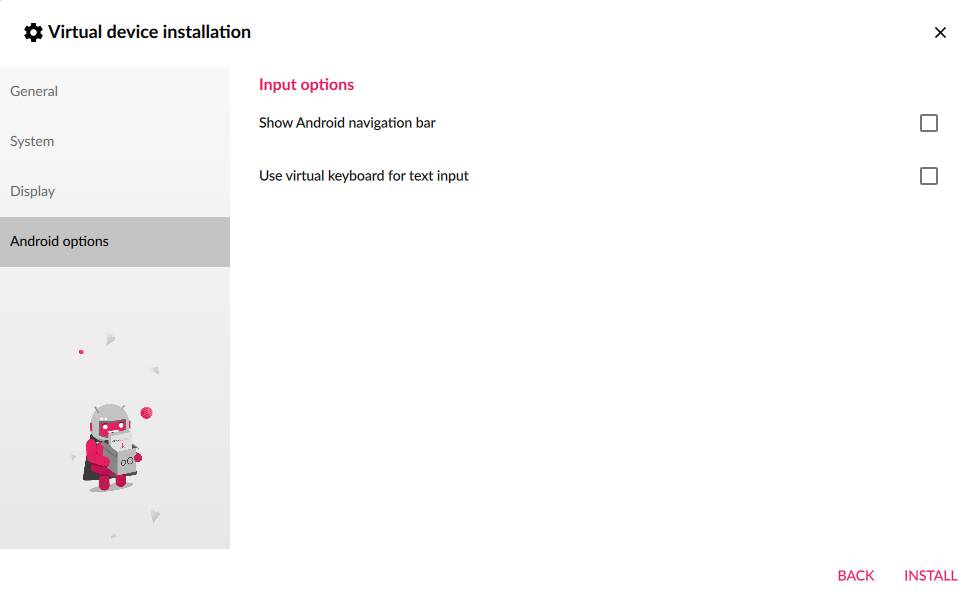
Wait until the download is complete.
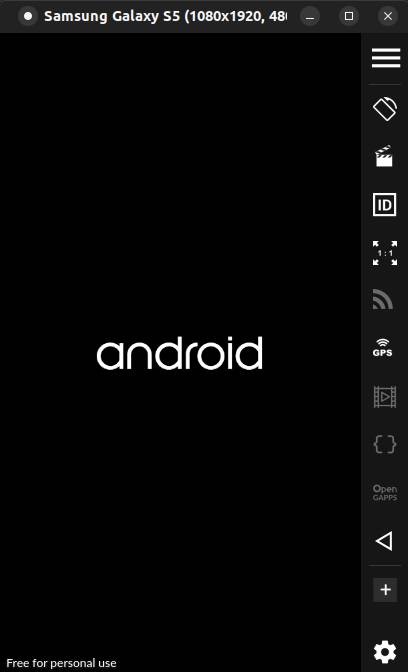
After the download is complete, start the virtual device.
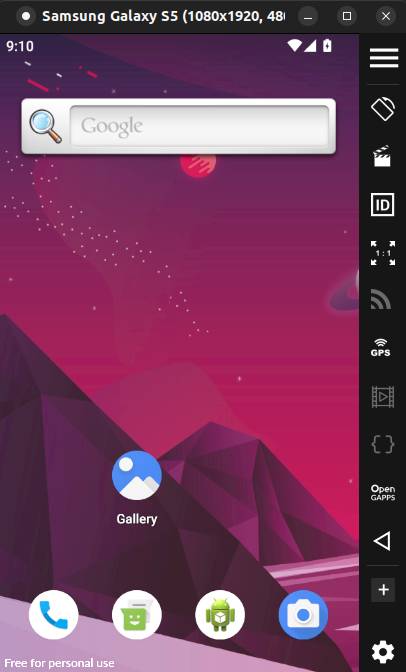
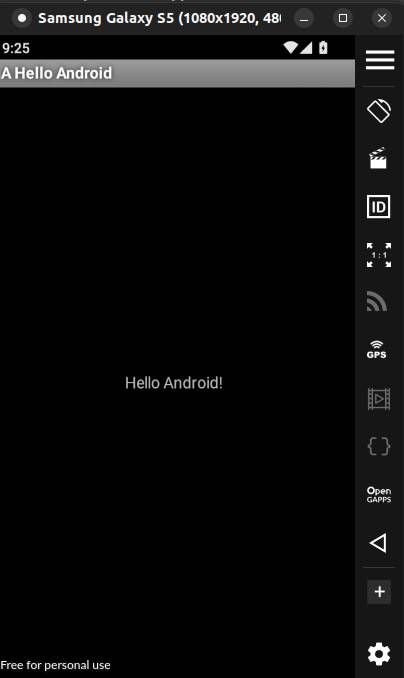
Drag and drop the APK file into the emulator. A window will show up. Click continue.
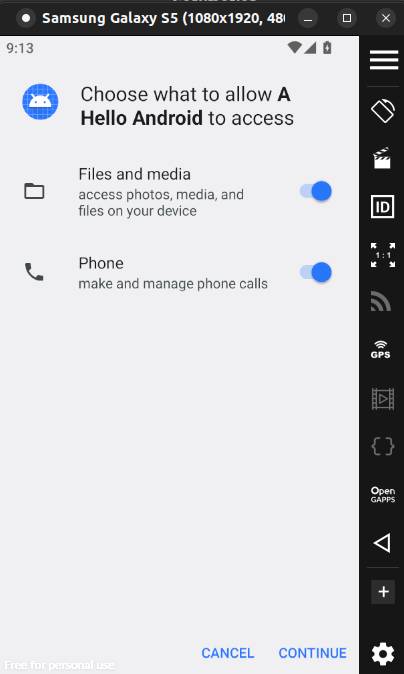
if everything is fine with your set-up and application, it will display following emulator window.