Servicing an offline image means making changes to a Windows installation file before actually installing Windows on a computer. The installation file is called an offline image because it's not currently running or installed.
To do this, you use a Windows tool called DISM (Deployment Image Servicing and Management). DISM lets you customize the Windows installation by making different kinds of changes to the offline image. For example, you can add or remove drivers.
In this tutorial, you will learn how to add or remove drivers from a Windows image.
Step 1: Download required drivers from your laptop/pc manufacturer's site
Here are the official driver download pages for Acer, ASUS, Dell, Lenovo, and HP:
- Acer: https://www.acer.com/us-en/support/drivers-and-manuals
- ASUS: https://www.asus.com/support/Download-Center/
- Dell: https://www.dell.com/support/home/en-id?app=drivers
- Lenovo: https://pcsupport.lenovo.com/us/en/products/laptops-and-netbooks/3-series/ideapad-3-15iil05/81we/videos/vid100754-how-to-download-and-install-a-driver-from-the-lenovo-support-site
- HP: https://support.hp.com/us-en/drivers
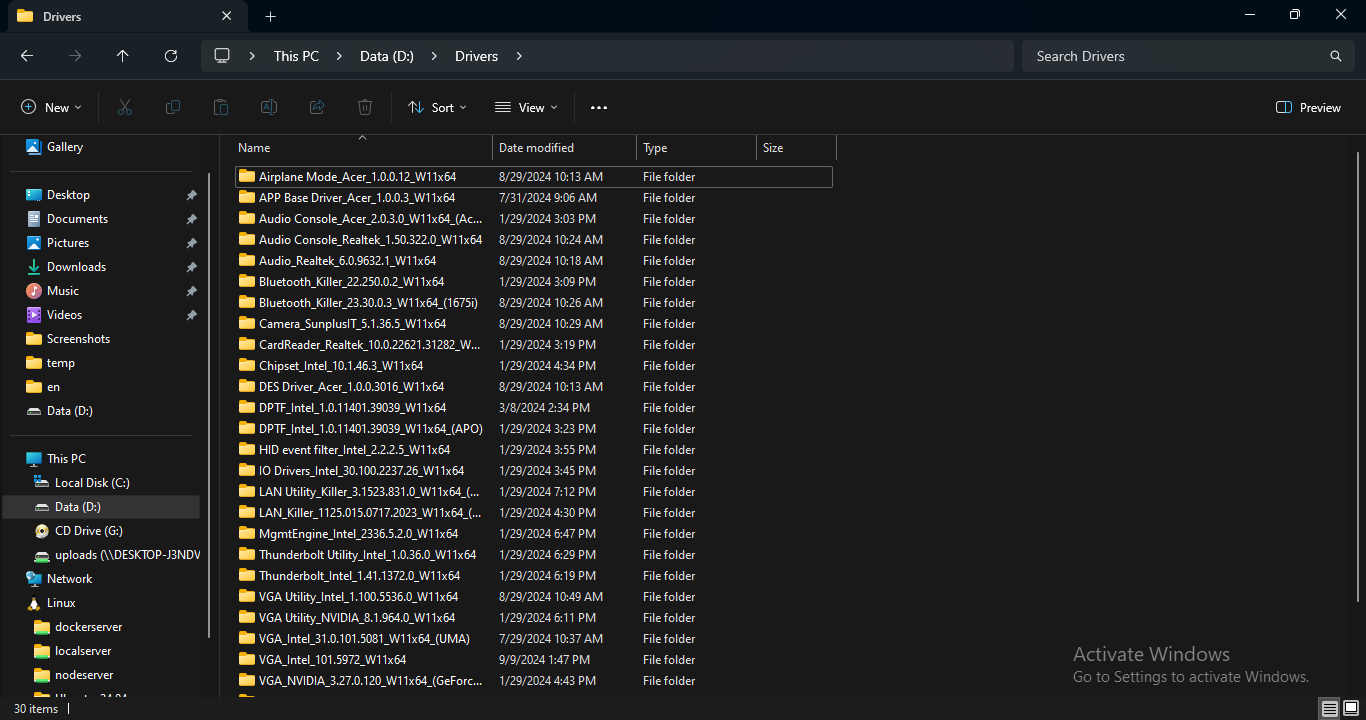
Most often the drivers come as a self-extracting executable (.exe) or archived (.zip) file. You must extract drivers first, an archive file can't be used. To be able to add an individual driver, you will need its .inf file
Create a folder to place all the downloaded drivers. In this example I create the folder on drive D: naming it Drivers.
Step 2: Add drivers to image
Create a new folder to temporarily store the contents of Windows 10/11 ISO image. In this example I create the folder on drive D: naming it ISO_Files.
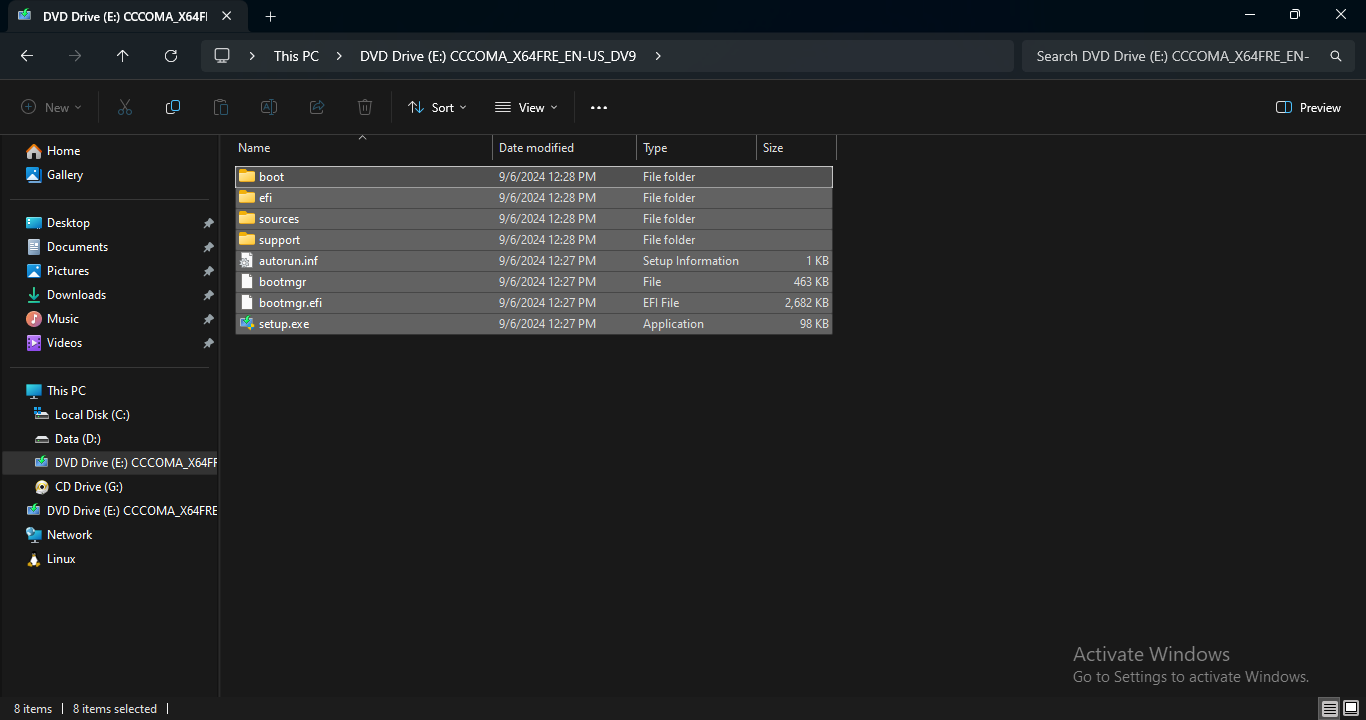
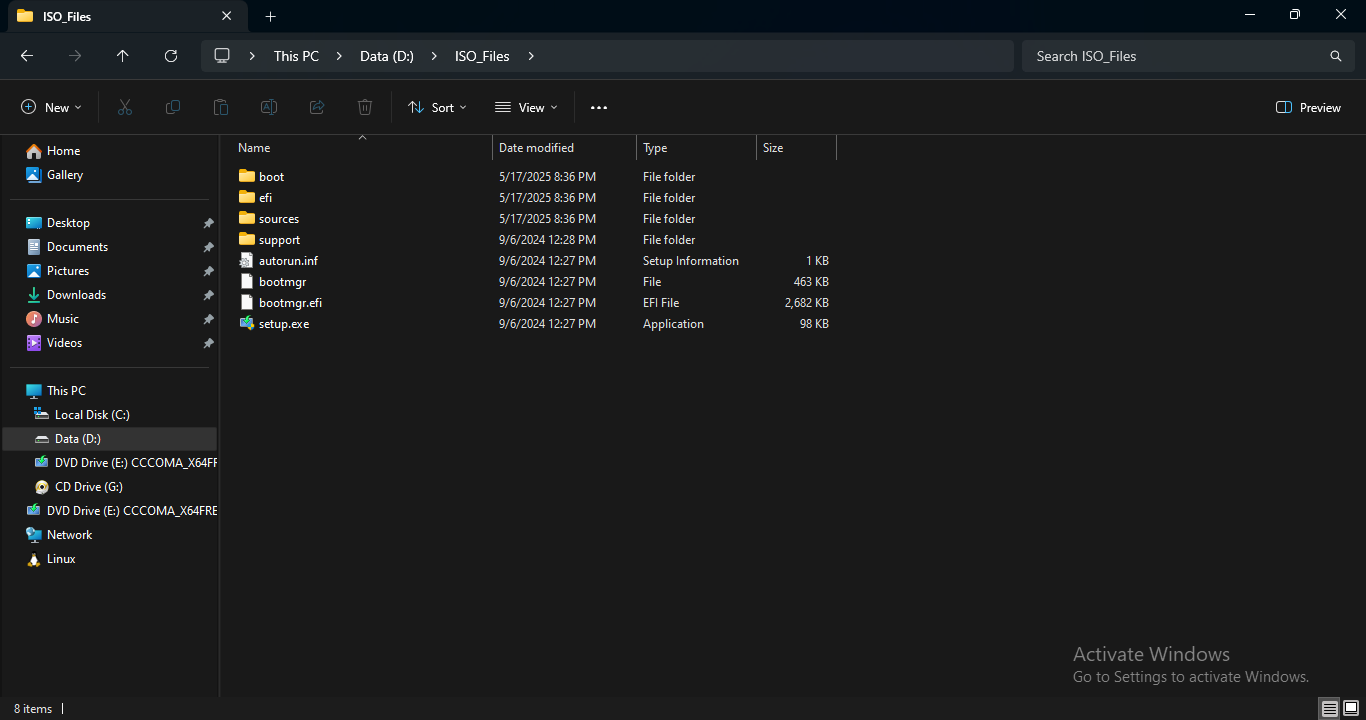
Mount the Windows 10/11 ISO file by double-clicking it to open it as a virtual DVD. In File Explorer, open the mounted ISO, press Ctrl + A to select all files and folders, then press Ctrl + C to copy them. Navigate to your ISO_Files folder and press Ctrl + V to paste the contents of the ISO.
Create a folder to mount offline image. In this example I create the folder on drive D: naming it Mount.
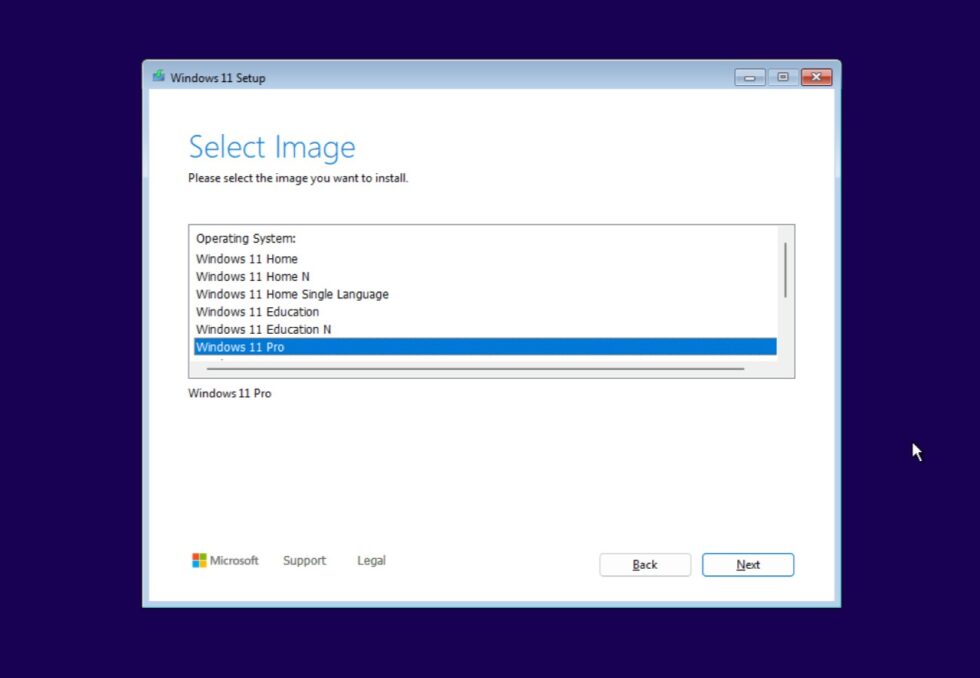
Open a PowerShell window (run as Administrator). Then enter the following command to see which Windows editions are included in the image:
Dism /Get-WimInfo /WimFile:D:\ISO_Files\Sources\install.wim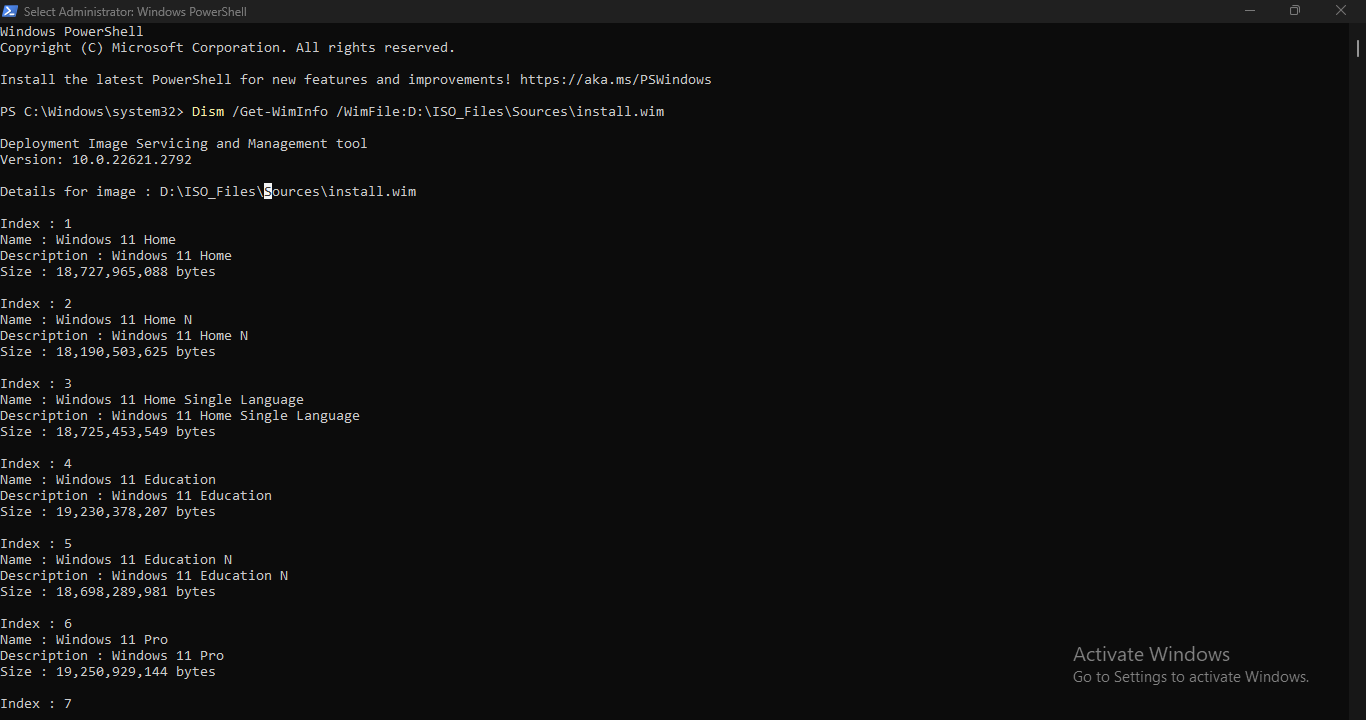
Mount the image of your preferred Windows 10/11 edition using its index number (retrieved from the previous step). Use the following command to mount the image:
Dism /Mount-Wim /WimFile:D:\ISO_Files\Sources\install.wim /index:6 /MountDir:D:\Mount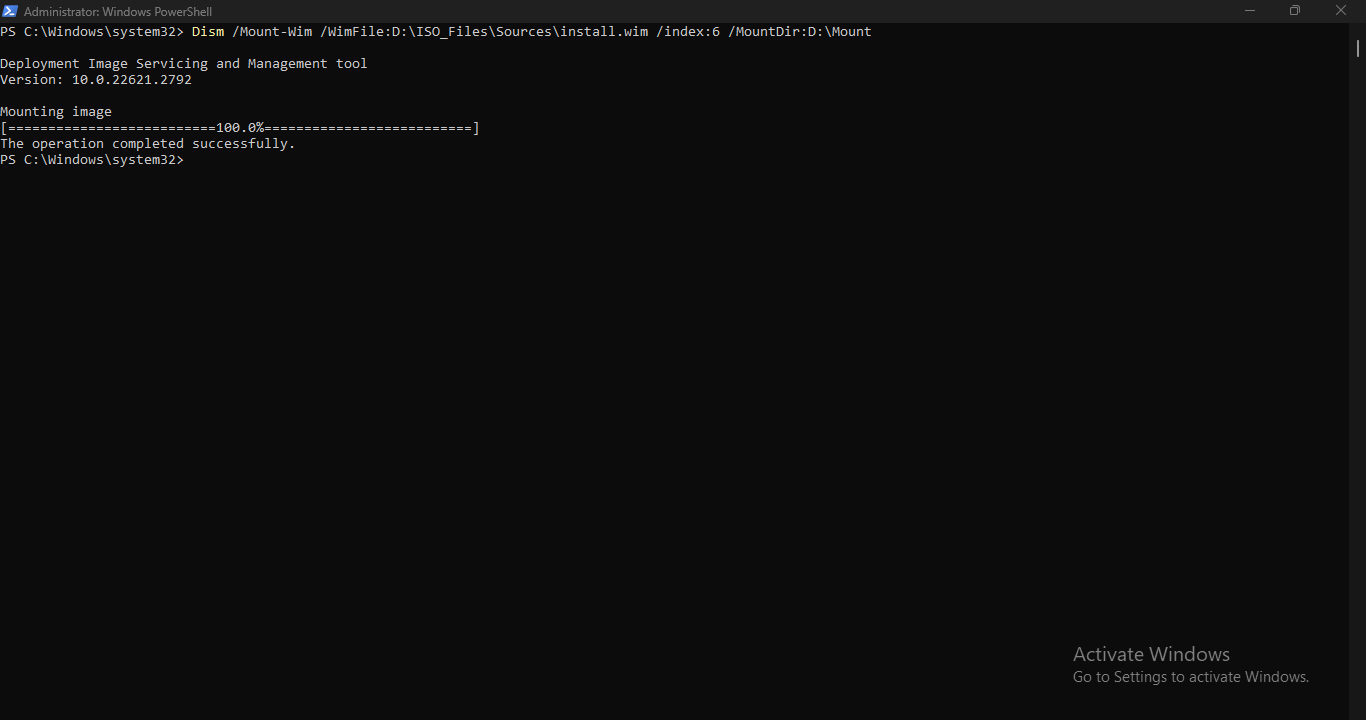
Replace 6 with the index number of the edition you want to mount.
You can check which third-party drivers are already present in the mounted offline Windows image by running the following command:
Dism /Image:D:\Mount /Get-Drivers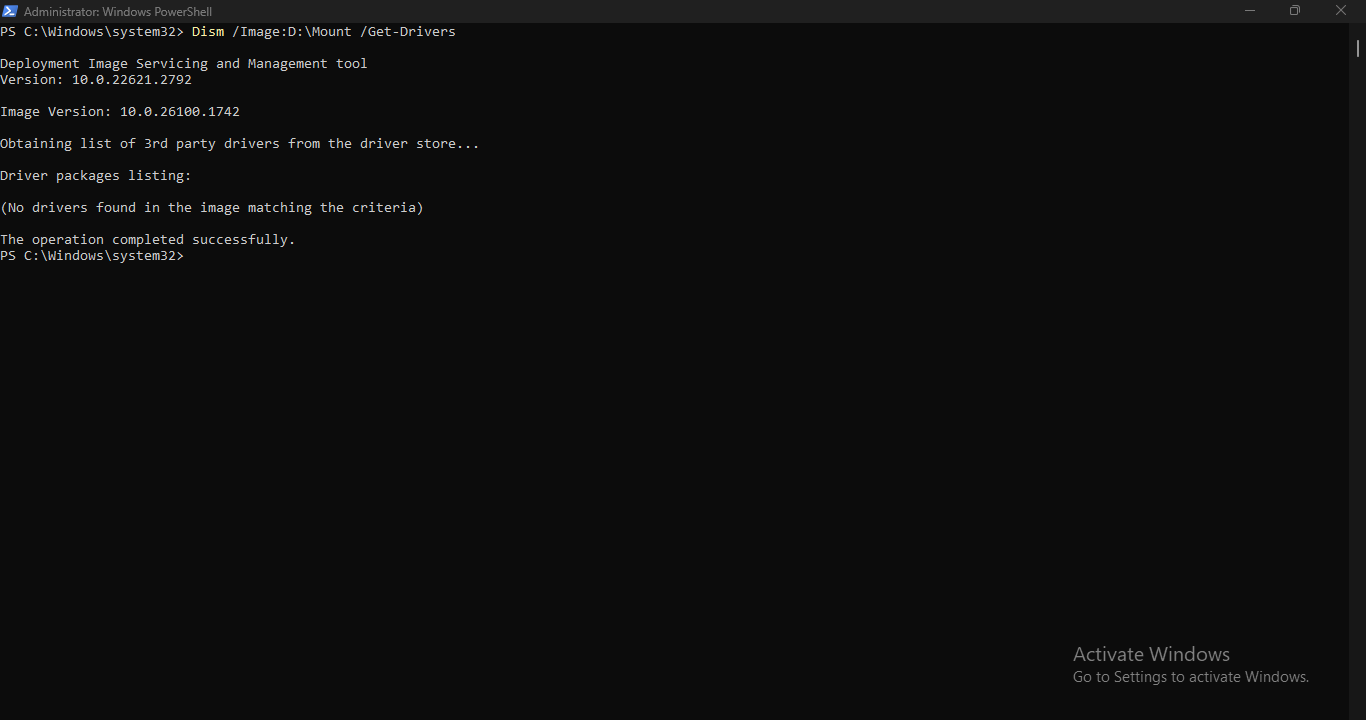
You can now add all the drivers to the offline mounted Windows image using the following command:
Dism /Image:D:\Mount /Add-Driver /Driver:D:\Drivers /Recurse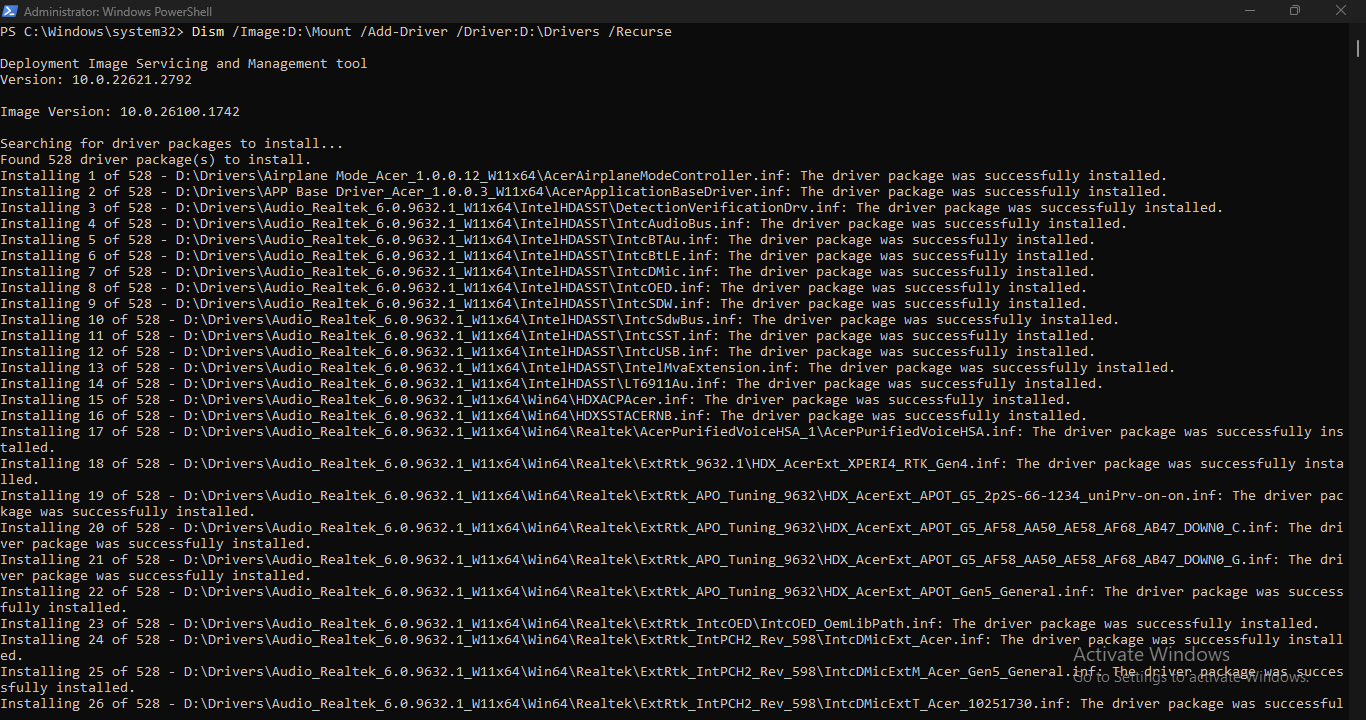
If you prefer to add drivers one by one to your offline mounted Windows image, you can use the following command for each individual .inf file:
Dism /Image:D:\Mount /Add-Driver /Driver:D:\Drivers\DriverName1\YourDriver1.inf /Driver:D:\Drivers\DriverName2\YourDriver2.infIf you want to remove a driver from offline image, use the following command:
Dism /Image:D:\Mount /Remove-Driver /Driver:D:\Drivers\DriverName1\YourDriver1.inf /Driver:D:\Drivers\DriverName2\YourDriver2.infOnce all drivers have been added, you can save the changes and unmount the offline image using the following command:
Dism /Unmount-Wim /MountDir:D:\Mount /Commit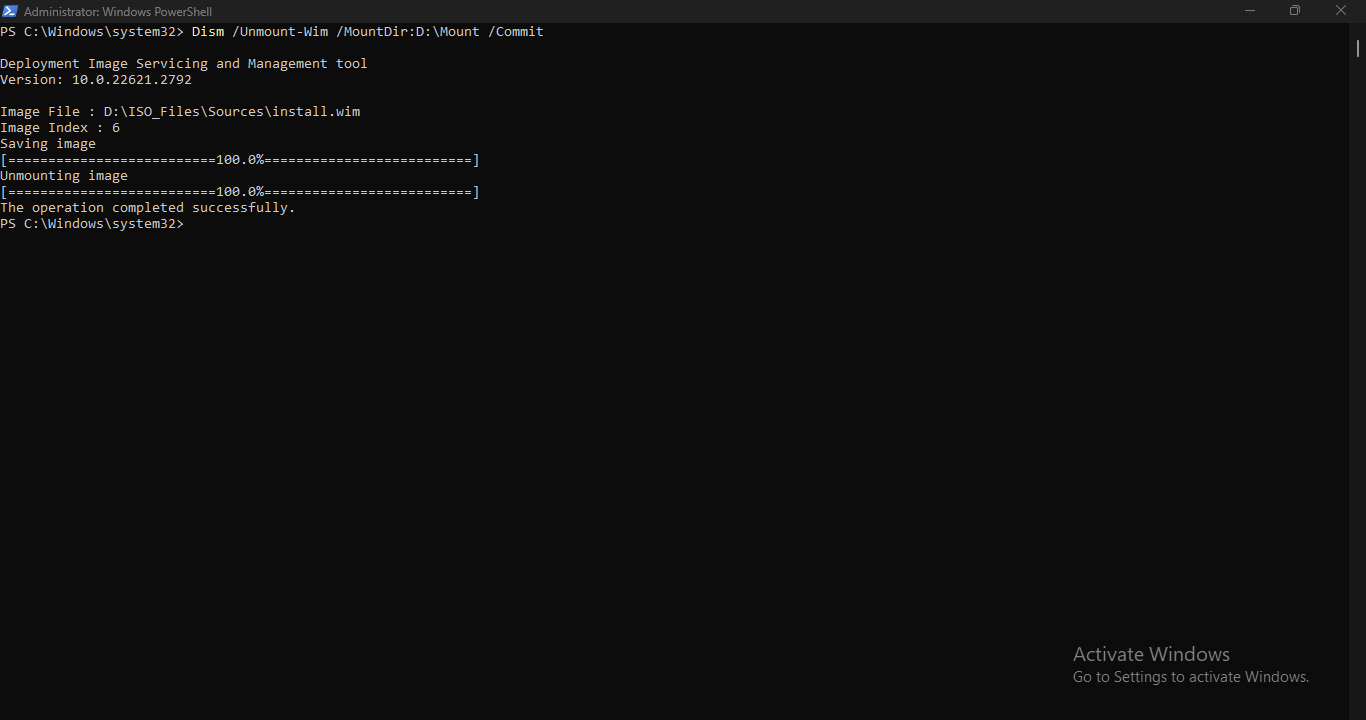
Step 3: Create an Updated Windows ISO
Download the latest Windows Assessment and Deployment Kit (ADK): Microsoft Windows ADK download page.
The Windows Assessment and Deployment Kit (Windows ADK) installer allows you to pick individual components to install. If you want to install only oscdimg.exe, in the list of features, uncheck all options except Deployment Tools.
After you install the Deployment Tools component of the Windows ADK (which includes oscdimg.exe), you can access the special command-line environment by clicking Start and typing Deployment and Imaging Tools Environment, and then right-clicking it to select Run as administrator.
Run the following command and this command will create an ISO that boots on both legacy BIOS and UEFI systems.
oscdimg.exe -m -o -u2 -udfver102 -bootdata:2#p0,e,bD:\ISO_files\boot\etfsboot.com#pEF,e,bD:\ISO_files\efi\microsoft\boot\efisys.bin D:\ISO_files D:\Win11_24H2_v2_English_x64.iso
| Switch | Description |
|---|---|
oscdimg.exe | The tool that creates the ISO image (part of the Windows ADK). |
-m | Ignores the maximum size limit for a CD (700MB). Needed for DVDs/USBs. |
-o | Optimizes storage by eliminating duplicate files during ISO creation. |
-u2 | Sets the UDF (Universal Disk Format) version to 2.01 (required for large files and newer systems). |
-udfver102 | Also sets the UDF version explicitly to 1.02 for better compatibility. Used redundantly here, but sometimes required for older systems. |
-bootdata:2# | Tells oscdimg to build two boot entries so that the ISO can boot in both legacy BIOS and modern UEFI systems. |
p0 | Partition 0 — standard for BIOS boot. |
e | Marks it as bootable. |
bD:\ISO_files\boot\etfsboot.com | Specifies the boot sector file — etfsboot.com is the boot image for BIOS systems. |
pEF | EFI boot partition. |
e | Marks it as bootable. |
bD:\ISO_files\efi\microsoft\boot\efisys.bin | Path to the UEFI boot sector image — efisys.bin. |
D:\14986PROx64.iso | The source folder containing all Windows setup files. |
D:\Win11_24H2_v2_English_x64.iso | The output ISO that will be created. |